
Black Belt Party Decor
Today I am departing from my usual “food” post to share a decorating idea that we made for my daughter’s black belt party.
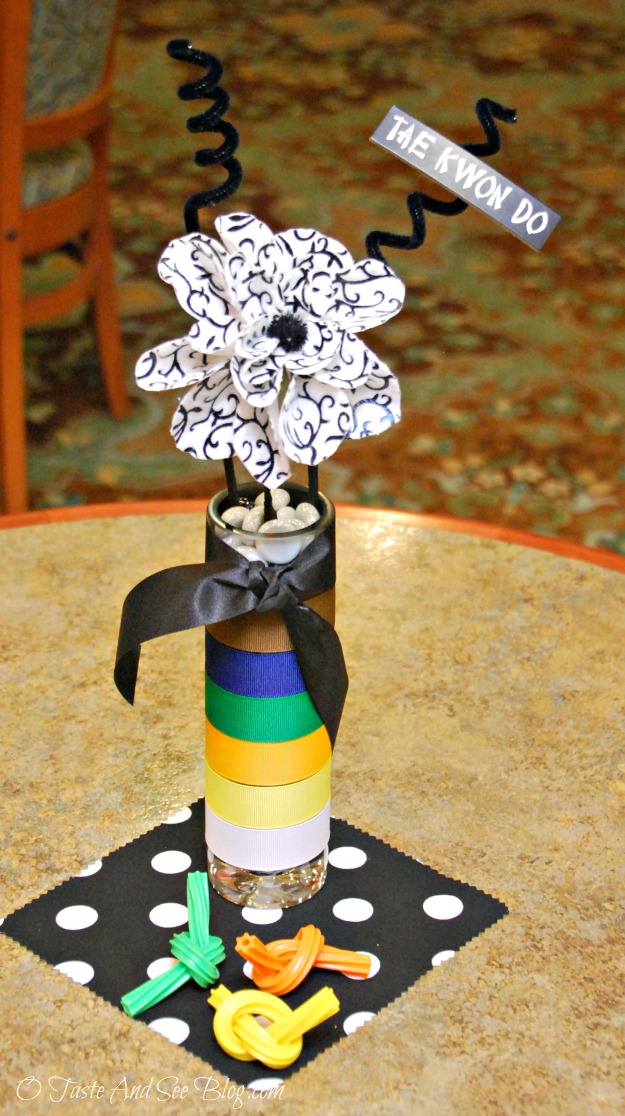
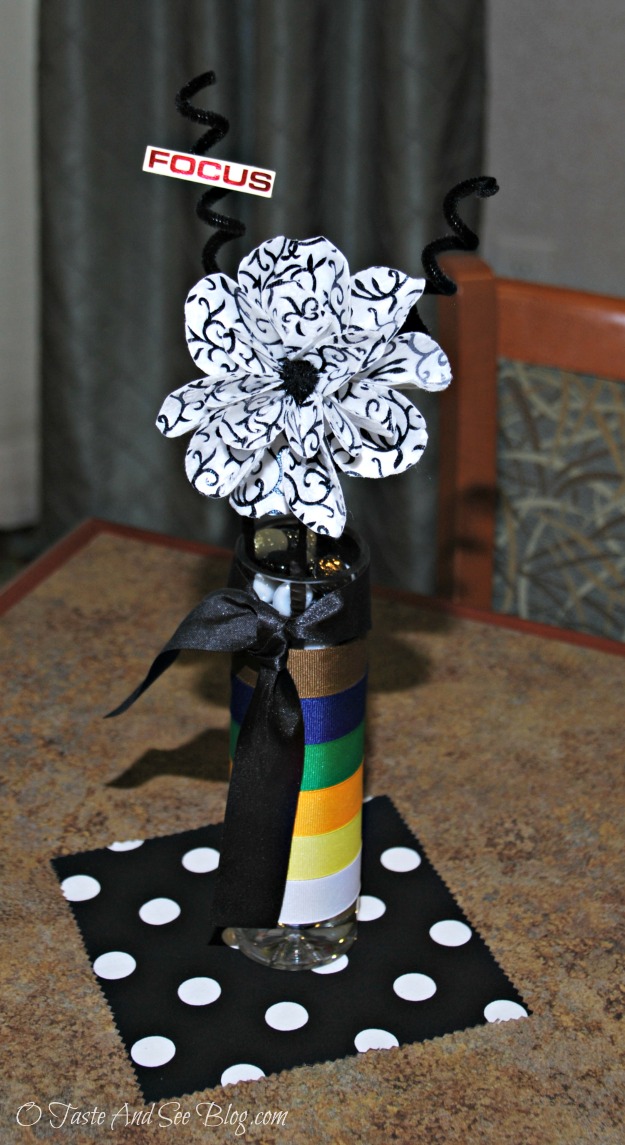
A few months ago my daughter earned her black belt in Tae Kwan Do. Of course, a big achievement like that calls for a party! I adore food and decorations that match a party theme…and so does my daughter. She decided in honor of the “black belt” she would have Black Belt Party Decor. We made Kit Kat Cake topped with M & M candies, using only the colors that represented the karate belts. A black ribbon around it to represented the “black belt”.
For decorations (mostly centerpieces for small tables) we wanted something nice but not too “fancy”, cute but not too “childish”, reflecting the “black belt” theme, and inexpensive….so of course, we went straight to Pinterest! After searching high and low there….we didn’t find anything that fit our criteria. We found plenty of “karate” themed birthday parties and beautiful cakes but nothing like what we needed. What we did find was…inspiration!
Here’s What We Used:
- Vases purchased from the Dollar Store for a previous occasion
- 1″ ribbon representing the karate belt colors
- 1 1/2 ” black ribbon
- Felt flowers – from Hobby Lobby (about $1 each)
- Black and white polka dot fabric – Hobby Lobby (on sale for 30% off, I only needed 1 yd)
- Black and White “River Rock” – Hobby Lobby (used 40% off coupon)
- Floral picks
- Black Floral Tape
- Black “Pipe Cleaners” or whatever they’re called now – Walmart about $2
- Karate themed scrapbook “stickers” – Michael’s (also 40% off coupon)
- 1 package colored Twizzlers candy, one package Chocolate Twizzlers
- Hot glue gun
- Marbles (borrowed from a friend or purchase at Dollar Store)
* “River Rocks” are the clear or colored marble type beads (flat on one side) used to fill vases. I’m not sure why they call them “River Rocks”, they certainly don’t look like they came out of a river.
*It takes A LOT more “River Rocks” to fill a vase than I thought. Not wanting to spend $3 per vase, I borrowed regular marbles from a friend’s children. I used these to fill the vases, the ribbon covered them, then topped with a few “River Rocks” of black or white so the marbles weren’t seen from the top.
* I chose ribbon widths based on the height of my vase. I wanted the whole vase covered with an emphasis on the black belt. If using a taller vase, ribbon width should be adjusted
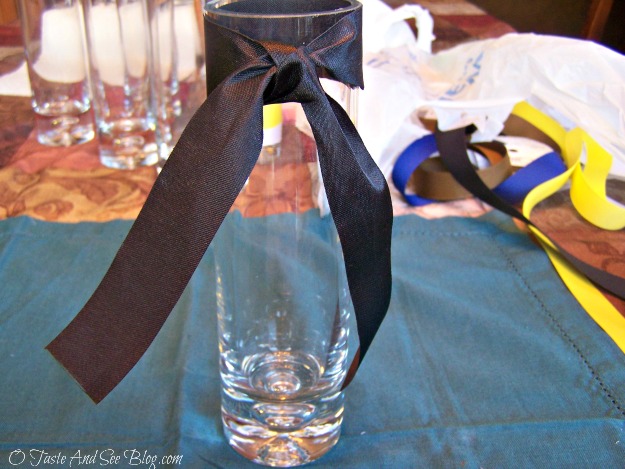
Step 1: Tie black ribbon around top of vase, leaving ends to desired length. Measure and cut 1 ribbon for each vase. Mark the vase at the bottom of the black ribbon so you’ll know where to start the next color. Remove and set aside.

Step 2: Measure and cut 1 piece of ribbon in each color to fit around vase, allowing for a slight overlap
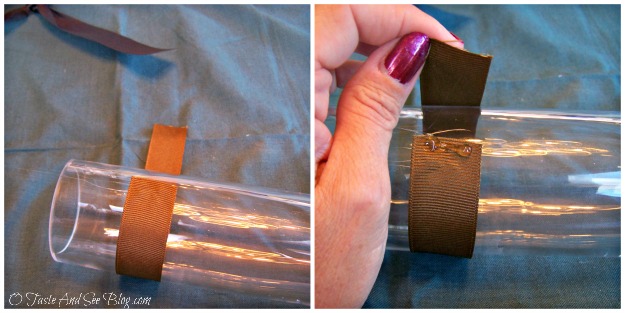
Step 3: Using a hot glue gun, attach each ribbon to vase
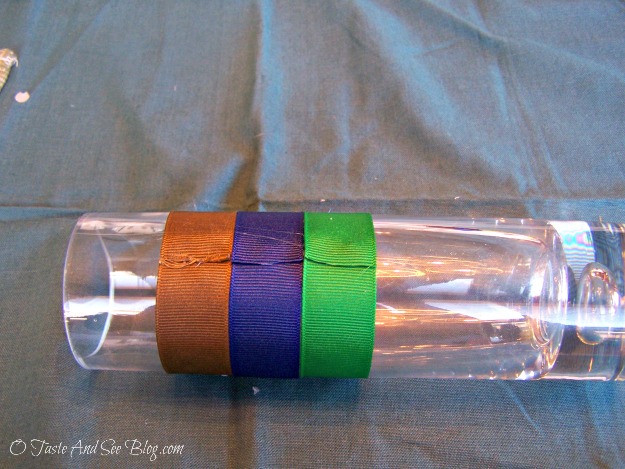
I tried very hard to line the seam up as much as possible

Step 4: Because our flower stems were very short…
Attach a floral pick to each stem. The picks have a wire that wraps around the stem to secure it
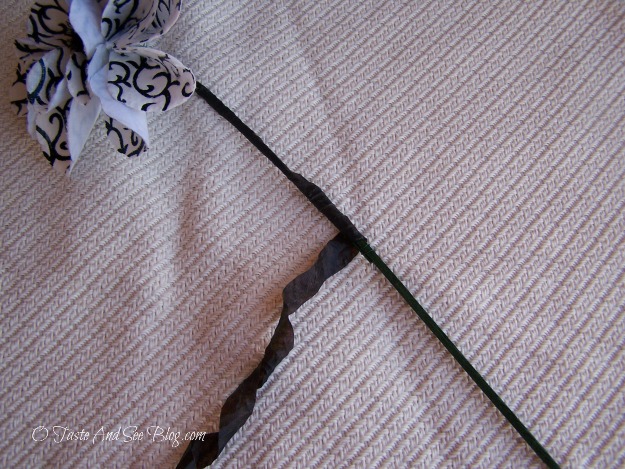
Step 5: Cover the flower stem and pick with black floral tape
We used black instead of green so it would match the flower and be less noticeable
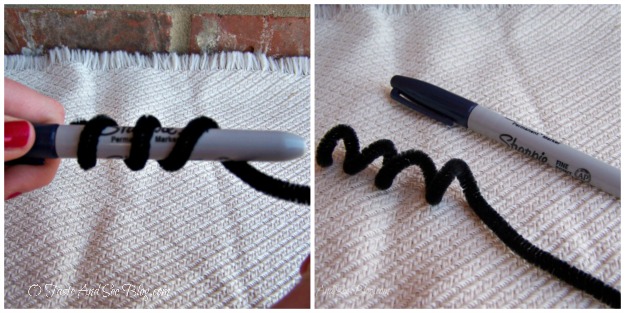
Step 6: Wrap one end of each “pipe cleaner” around a “Sharpie” marker to curl
Because things look better in three’s we used 2 for each vase
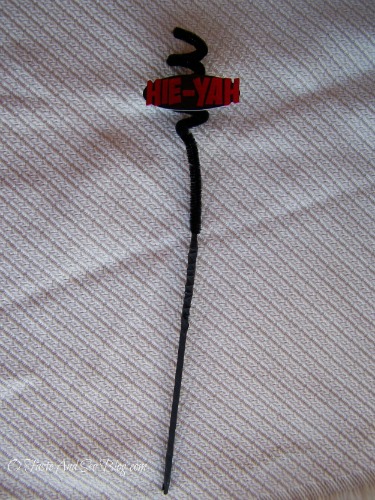
Step 7: Attach a pick to each “pipe cleaner” and cover with floral tape (like the flowers)
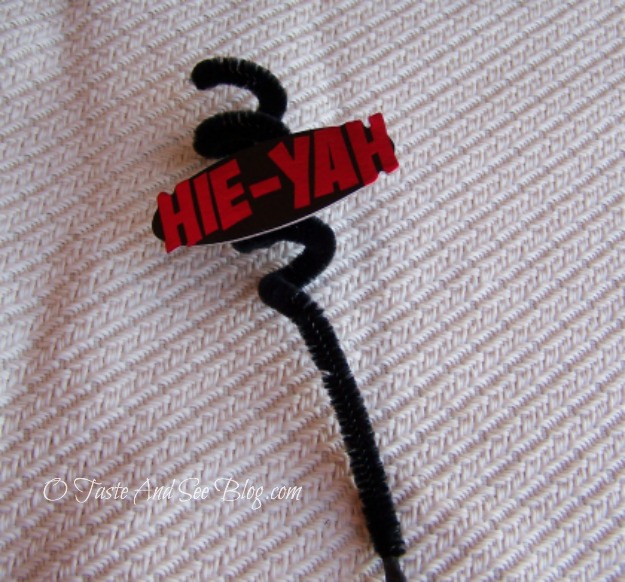
Step 8: Attach a scrapbook sticker to half the twisted pipe cleaners (one per vase)
The ones we purchased had adhesive on the back but hot glue could be used if needed.
Step 9: Reattach black ribbon at the top of vase
Step 10: Fill the vases with marbles and top with colored rocks
Insert flower and pipe cleaners
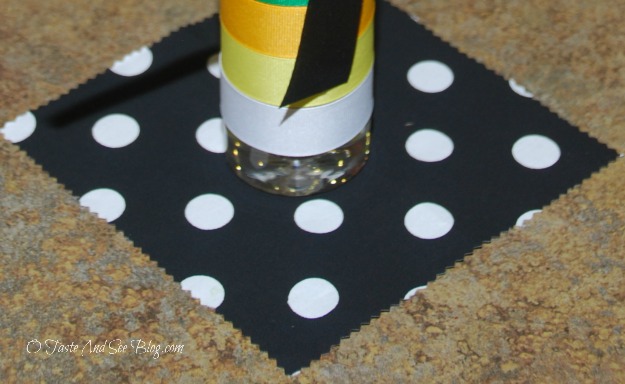
Step 11: Decide how big your square of fabric needs to be in proportion to vase and table
Ours were about 6 inches because the vases were small as were the tables
Using pinking shears (keeps fabric from fraying without hemming) cut to desired size
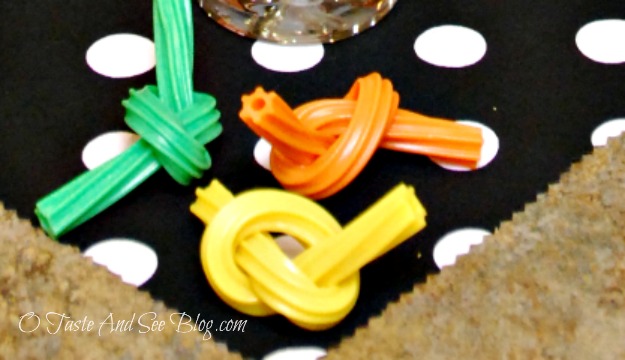
Step 12: Tie Twizzlers in “knot” to look like karate belt
DO NOT DO THIS UNTIL YOU NEED THEM!!!
We were trying to get as much done as possible ahead so we tied ours the night before and put them in a baggie. The next day, they were all broken! We had a few unused ones we were able to tie for the picture above.
These turned out really cute (or at least we thought so)
They could be adapted to match any party theme or decor
It’s times like this that make me feel REALLY crafty!
I would also like to mention….I had TONS of help with these! We had a lot going on around this time…I couldn’t have done it without the help of my friend, Jennifer, my daughters and my mother-in-law….Y’all are the BEST!
This post linked at Craft Dictator, Get Crafty Friday, Freedom Fridays, The Markers, Inspire Us Thurs., Sweet Bella Roos
9 Comments
K. Elizabeth @ YUMMommy
April 11, 2014 at 7:28 PM
Such a cute idea. Love!
beingawordsmith
April 7, 2014 at 10:43 AM
Pinned! So neat.
ourminifamily
April 2, 2014 at 11:13 AM
Very cute and what a nice tutorial! Thanks so much for sharing!
Jennifer
April 2, 2014 at 8:13 AM
You did a great job putting that together! You are very creative. You certainly hit the mark…not too childish, but classy and fun. Great job!
Stephanie Cox
April 2, 2014 at 8:13 AM
I love what you did here! However, the trick with the pipe cleaner is genius! I think all my future parties will now have pipe cleaners involved somehow.
alisonswonderlandrecipes
April 2, 2014 at 8:04 AM
This is so clever! I’m sending the link to my Mom to use when my brother gets his blue belt. 🙂
Kristin
April 2, 2014 at 7:50 AM
What a cute, easy DIY!
aimee
April 2, 2014 at 7:49 AM
That is so cute and I never would have thought to do this… You did good! Like really good.
Alli
April 2, 2014 at 7:03 AM
What a fun centerpiece for a black belt party! Very creative!
Comments are closed.