Homemade Lip Balm
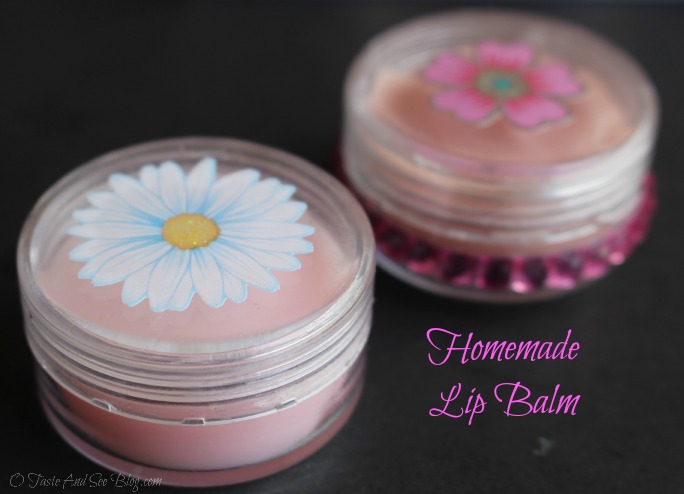

Even though this isn’t a food recipe, I just HAD to share!
Is it just me or is everyone seeing tons of those “fast forward” motion, how-to-elaborately-decorate-a-cookie video on Facebook? They make it look so easy anyone could do it. Although very beautiful, I have had enough attempts at things I’ve seen online to know better than to attempt those.
However, this Homemade Lip Balm came from a video someone shared on Facebook. It really did look so easy I had to try it….and wonder of all wonders….it WAS!
Each year around Mother’s Day I plan a Mother-Daughter lunch for the ladies at church. Usually it’s at a Tea Room. This year, instead of lunch, we enjoyed a High Tea. I think having a little gift or memento for them to take home is always nice. This year I hadn’t been able to come up with anything…then I saw the Lip Balm video on Facebook.
With a quick trip to our local “health food” store, craft store and “dollar” store and I was all set. It only took a few minutes to make about twenty.
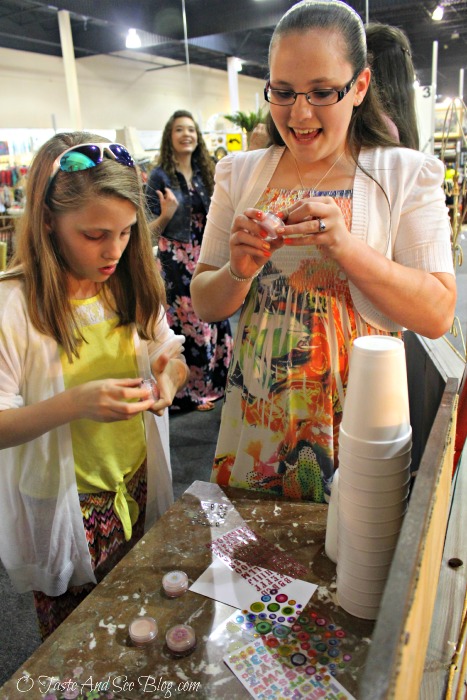
I purchased a variety of stickers so everyone could decorate their own lip balm containers at the Tea. The young and the young at heart had a great time.
Here’s What You’ll Need:
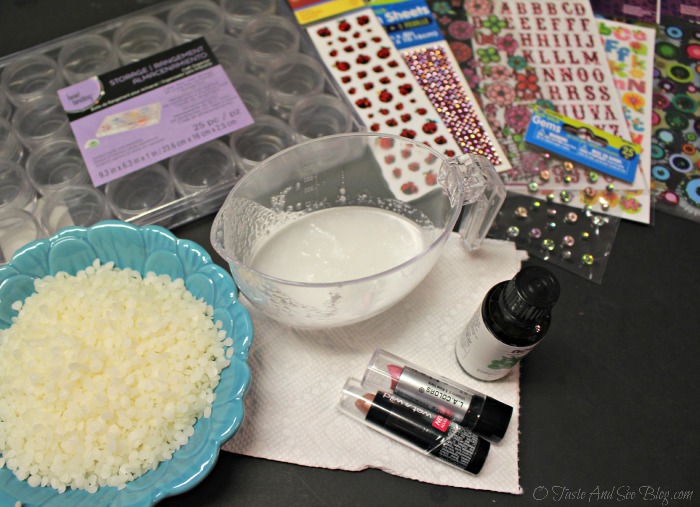
- small round containers with screw on lids (I found mine in the jewelry making section at Michael’s)
- 3 oz. bee’s wax
- 4 oz. coconut oil
- Peppermint essential oil
- lip stick (for color)
- Stickers for decorating
- heat-resistant measuring cup
- rags for clean up that can be thrown away
*The original recipe calls for equal part wax and oil but for a “smoother” feel use more oil than wax*
Directions:
Before beginning, take all the lids off your containers. The lip balm begins to solidify pretty fast so you need to work quickly when pouring.
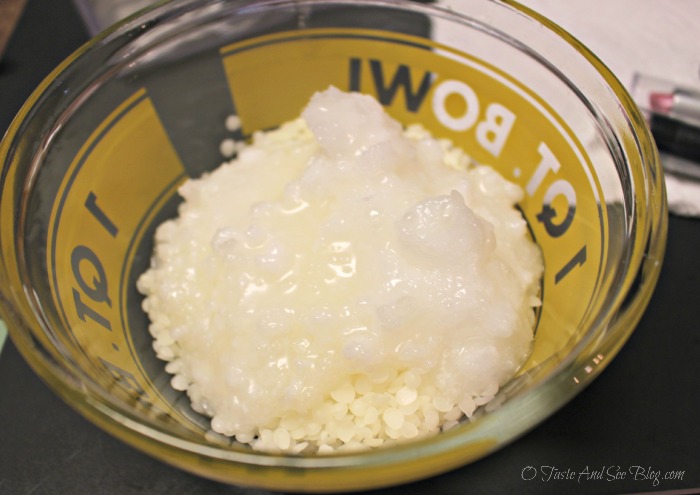
Place bee’s wax and coconut oil in a microwave safe bowl (I started with a bowl but recommend glass measuring cup)
Microwave on high about 2 minutes
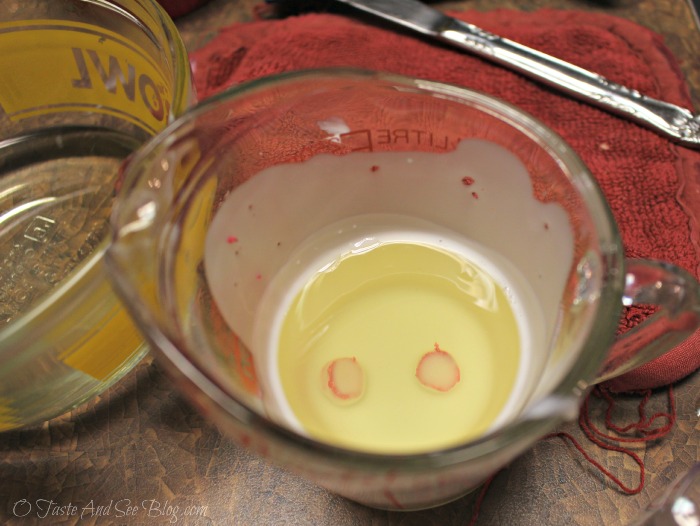
Stir until melted or heat more if needed
Add a chunk of lipstick (amount depends on how dark you want it)
Add several drops of Peppermint Oil
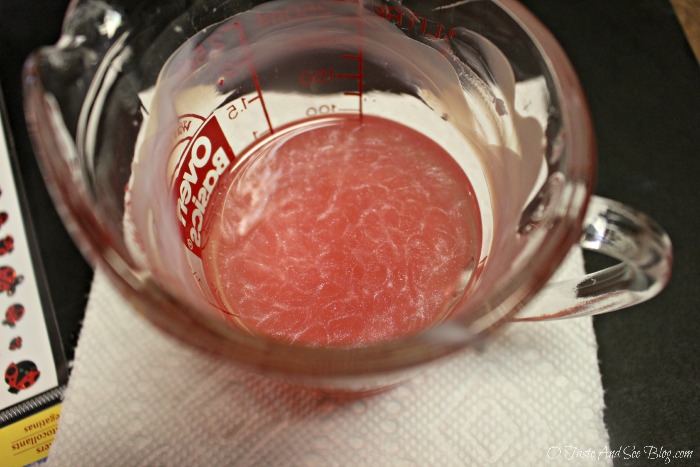
Microwave again in 30 second intervals (stirring between) until lipstick is melted
*Don’t let your mixture boil*
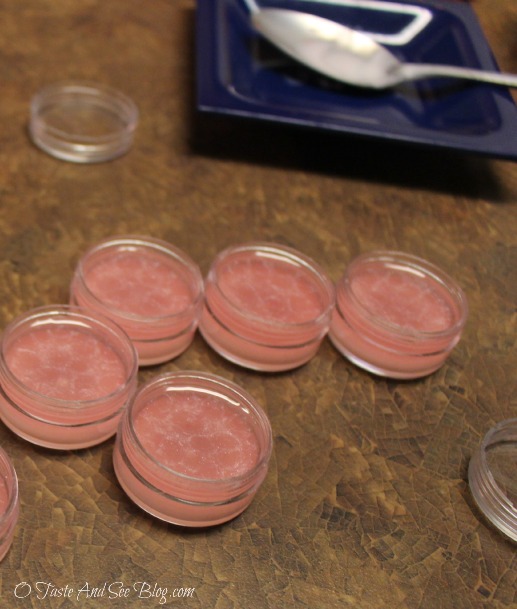
*Here’s where you need to work quickly
Fill each container almost full and set aside to cool
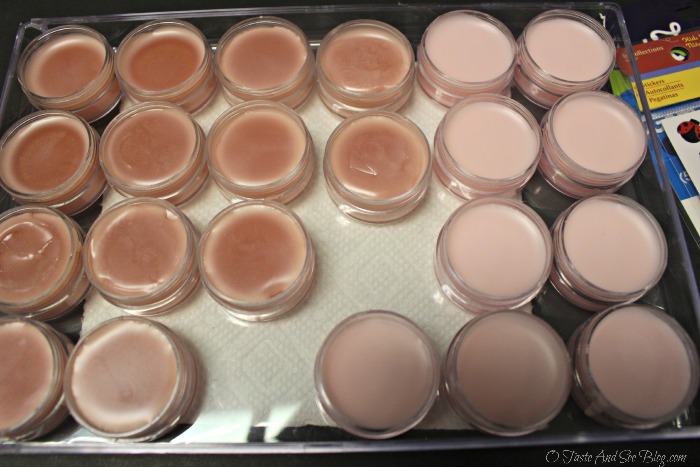
The lip balm begins to solidify right away. If you go back and add more to jars you’ve already filled it doesn’t give you a smooth look on top. You can see I did that with some of mine.
I also made 2 colors so I divided my liquid before adding the lipstick.
One important note: It’s a little difficult to get all the residue out of the dishes so I recommend using as few as possible. I ended up wiping them out with a paper towel first then rinsing with very hot water. Once I had as much out as possible, I put them in the dishwasher. I would also suggest using an old rag with the hot water and discarding it after use. I didn’t want to put it in the washing machine with anything else, I was concerned it might transfer to other things washed with it.
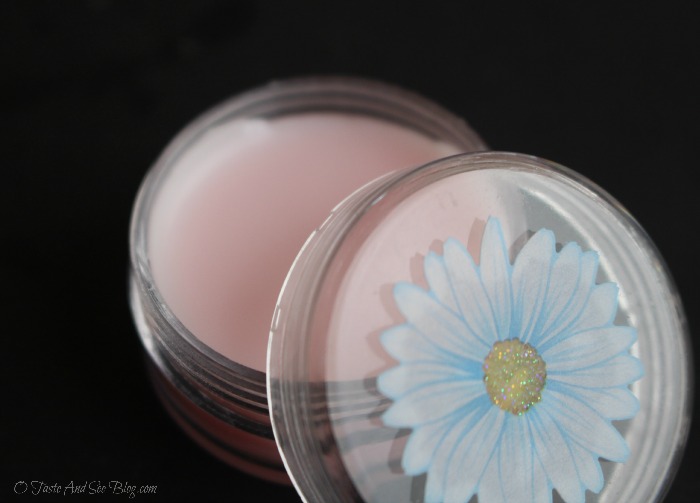
Decorate with stickers
This Homemade Lip Balm is a wonderful addition to a gift basket, hostess gift or party favor.
Do you have a latest Facebook video success?


- small round containers with screw on lids
- 3 oz. bee’s wax
- 4 oz. coconut oil
- Peppermint essential oil
- lip stick (for color)
- Stickers for decorating
- heat resistant measuring cup
- rags for clean up that can be thrown away
- Before beginning, take all the lids off your containers. The lip balm begins to solidify pretty fast so you need to work quickly when pouring.
- Place bee’s wax and coconut oil in a microwave safe bowl (I started with a bowl but recommend glass measuring cup)
- Microwave on high about 2 minutes
- Stir until melted or heat more if needed
- Add a chunk of lipstick (amount depends on how dark you want it)
- Add several drops of Peppermint Oil
- Microwave again in 30 second intervals (stirring between) until lipstick is melted
- *Don’t let your mixture boil*
- *Here’s where you need to work quickly
- Fill each container almost full and set aside to cool
- Decorate with stickers
- I found my containers in the jewelry making section at Michael’s
- The original recipe calls for equal part wax and oil but for a “smoother” feel use more oil than wax
- The lip balm begins to solidify right away. If you go back and add more to jars you’ve already filled it doesn’t give you a smooth look on top. You can see I did that with some of mine.
- I also made 2 colors so I divided my liquid before adding the lipstick.
- It’s a little difficult to get all the residue out of the dishes so I recommend using as few as possible. I ended up wiping them out with a paper towel first then rinsing with very hot water. Once I had as much out as possible, I put them in the dishwasher. I would also suggest using an old rag with the hot water and discarding it after use. I didn’t want to put it in the washing machine with anything else, I was concerned it might transfer to other things washed with it.
