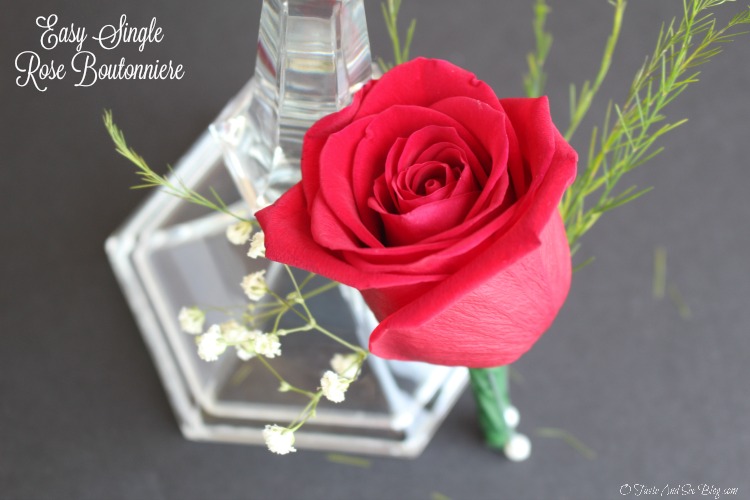
DIY Single Rose Boutonniere
Flowers in this post were provided by FiftyFlowers.com. All opinions are my own
Yesterday I shared our wonderful experience with Fifty Flowers. Today, I’m sharing a step by step tutorial for a classic and elegant DIY Single Rose Boutonniere.

When I was in about 9th grade our high school had a banquet planned. Our class was trying to raise money for a field trip and our teacher suggested we make and sell boutonnieres and corsages for those planning to attend the banquet.
I’d never known anyone, besides the florist, who made either so I assumed it was difficult. She assured us she’d done it before, it was quite easy and she’d teach us girls how to do it. The boys were given the task of taking and delivering order.
Sure enough, we met the afternoon before the banquet, she taught us how and whipped out a BUNCH of boutonnieres and corsages lickety-split. We made a good deal of money and had a great time in the process.
So, when my daughter got engaged and we began planning the wedding and deciding what we could do ourselves, my afternoon as a 9th grade “florist” came back to me. With the help of FiftyFlower.com we’ll be making all the boutonnieres (and other floral arrangements) ourselves and saving TONS of money!
Here’s How-To:
For those of you who may be more visual (like me) scroll down for video
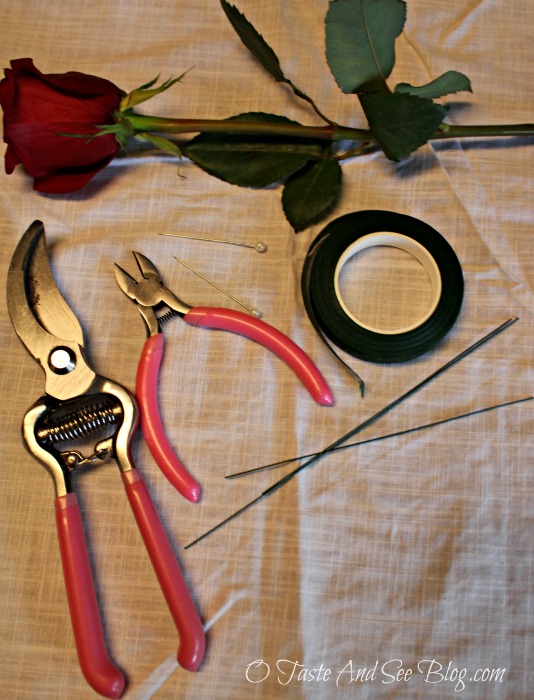
Supplies: (found at your local craft store or online)
- Branch Cutter (for cutting flower stems)
- Wire cutters
- 22-26 gauge floral wire
- floral tape
- corsage pins
Flowers:
- Rose
- Baby’s Breath
- Greenery

*I made 3 boutonnieres, each one using a different type of greenery….so we could see what we liked best. We prefered the Leather Leaf with the Lily Grass a very close second. Really, it’s just a matter of preference.*
Step 1:
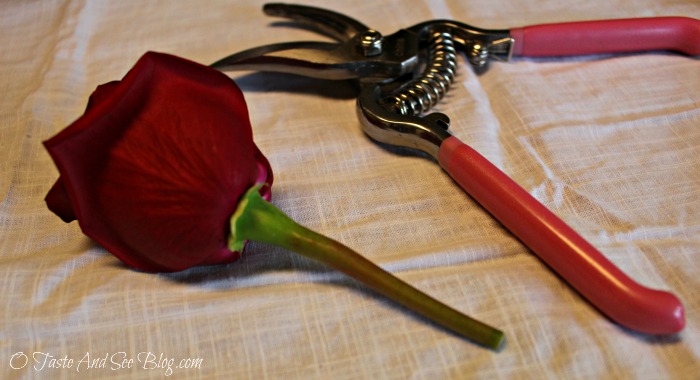
Using branch cutters, cut the rose stem about 2 inches below the base of the rose
If needed, remove any thorns
Gently remove a few outside leaves if your rose is too large. This doesn’t hurt the flower at all and allows you to have just the right size rose. If your rose is too large it will look more like a corsage than boutonniere.
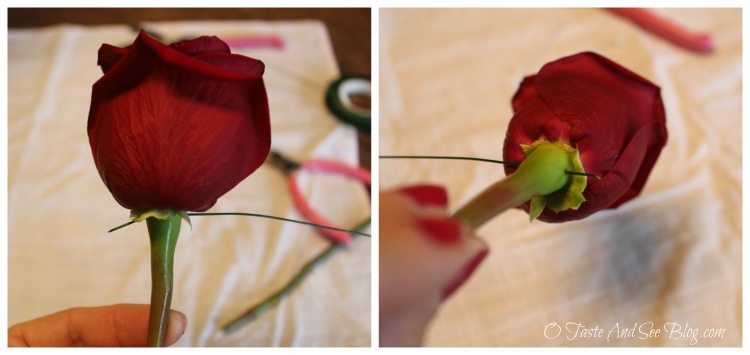
With the wire cutters, snip a piece of wire about 6 inches long making the cut on an angle so you have a nice sharp point on one end. (This helps as you insert the wire into the rose)
Gently insert the sharp end of the wire into the rose stem just below the base of the flower
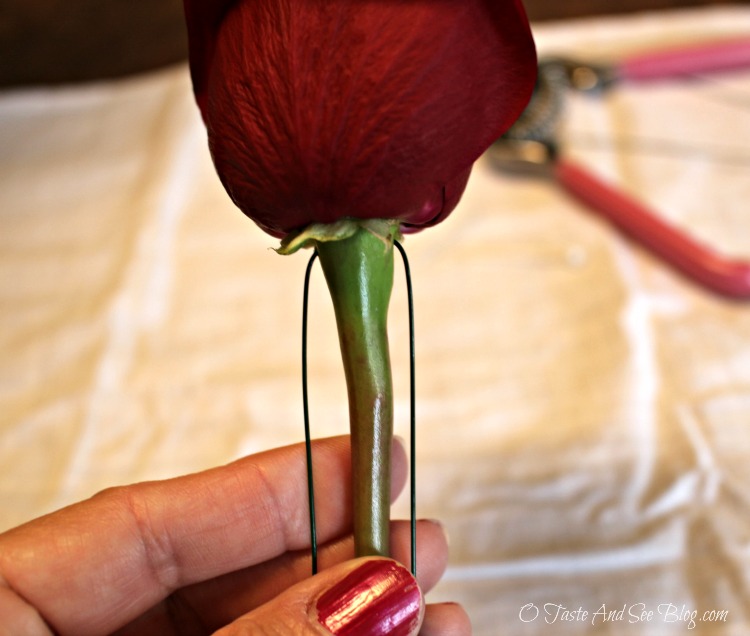
Slide wire so that rose is in the center
Bend each side of the wire down so that they are beside the stem
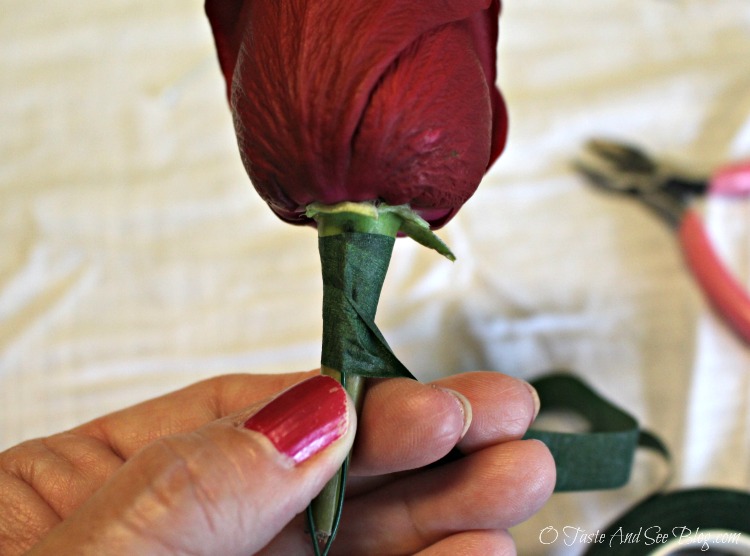
Start at the base of the flower and wrap a couple of times with floral tape
*Floral tape is a great product. It isn’t sticky until you start to use it. As you start to wrap, gently stretch the tape. This allows it to become sticky and stick to itself*
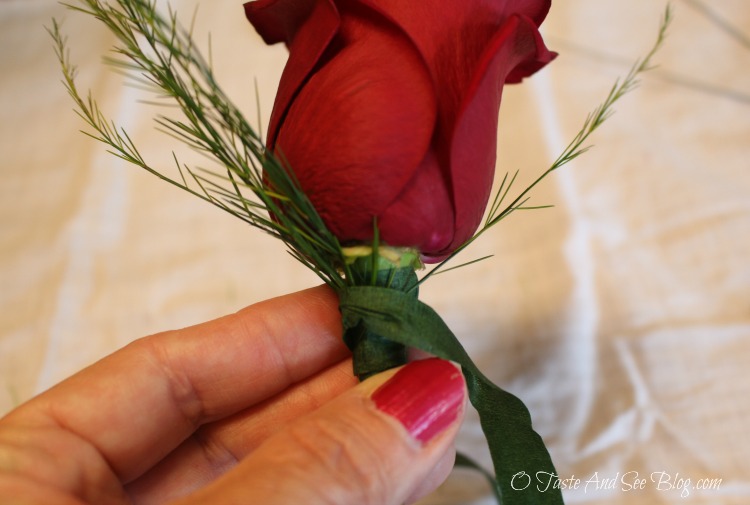
Cut a piece of greenery, making sure stem is long enough to be taped onto stem of flower and removing lower leaves if necessary.
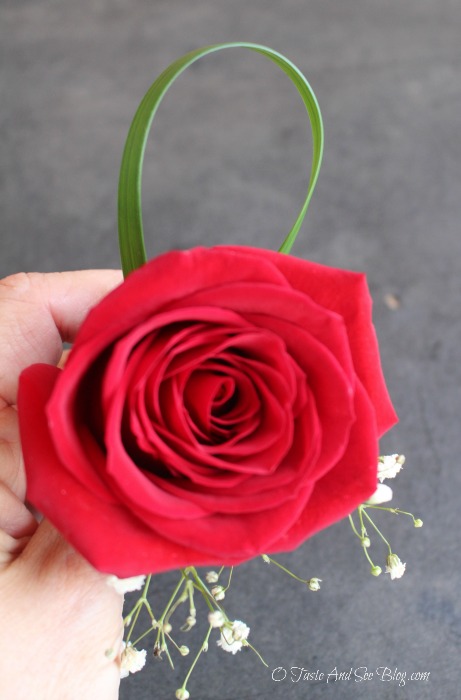
If using Lily Grass, make it into a loop that will be slightly higher than the rose. Hold both ends against stem and wrap.
Place greenery behind rose and wrap stem a couple of times with floral tape
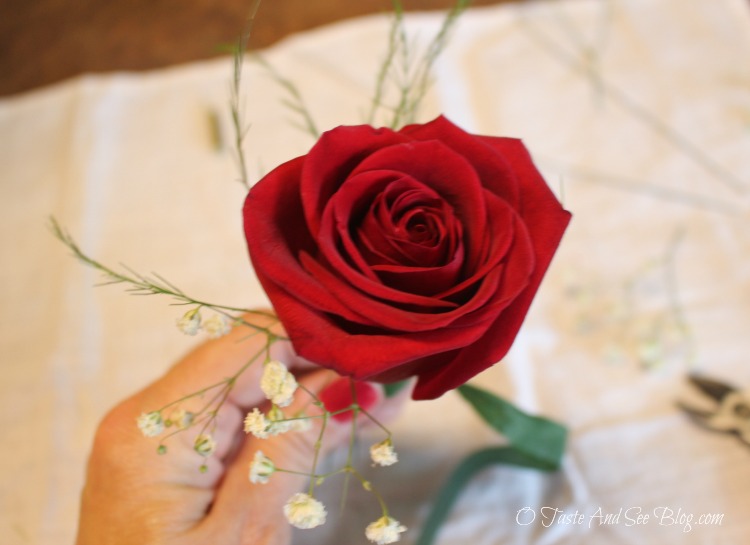
Place a small sprig of Baby’s Breath in front of the rose and wrap it into the stem as well
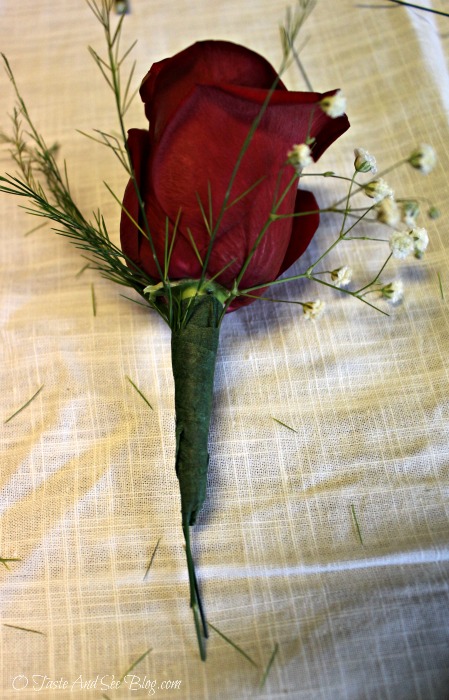
Continue wrapping all stems and wire until you reach the end of the rose stem
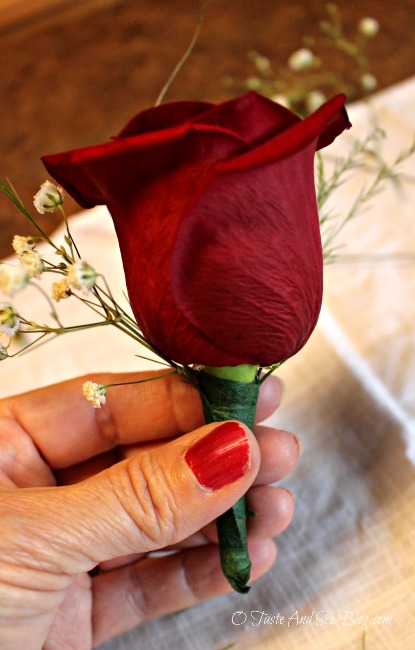
Cut off any excess wire hanging below rose stem and wrap the bottom of the stem
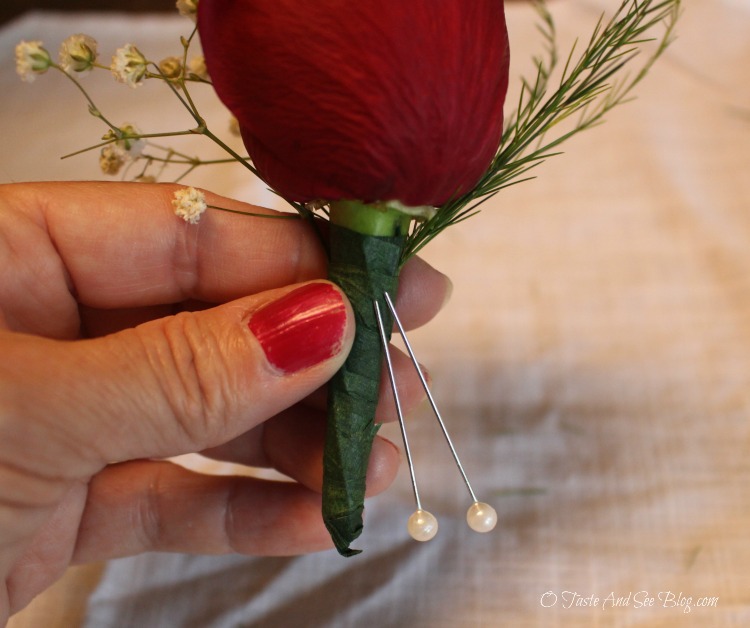
Insert 1-2 corsage pins into the tape near the top of the stem
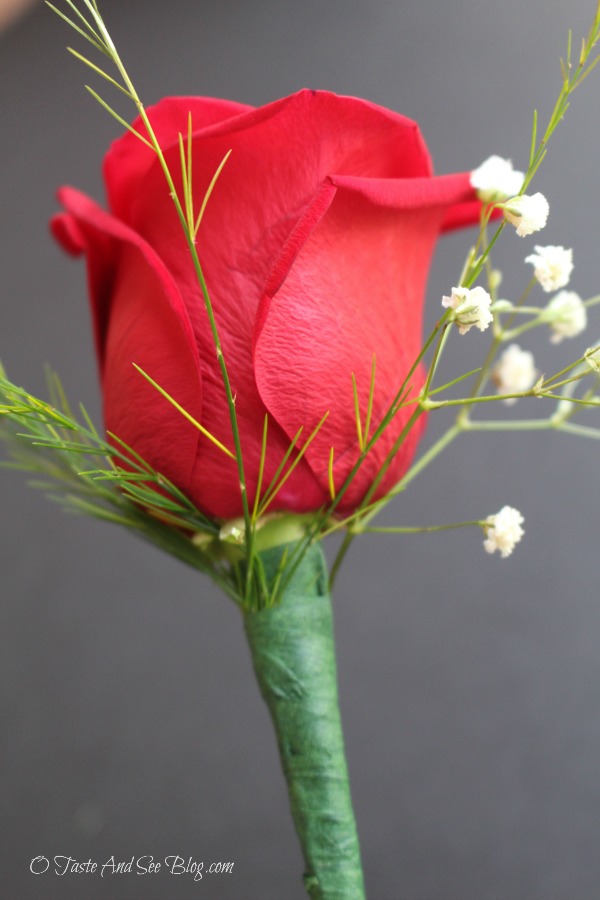
Many varieties of roses and other flowers can be purchased from FiftyFlowers.com
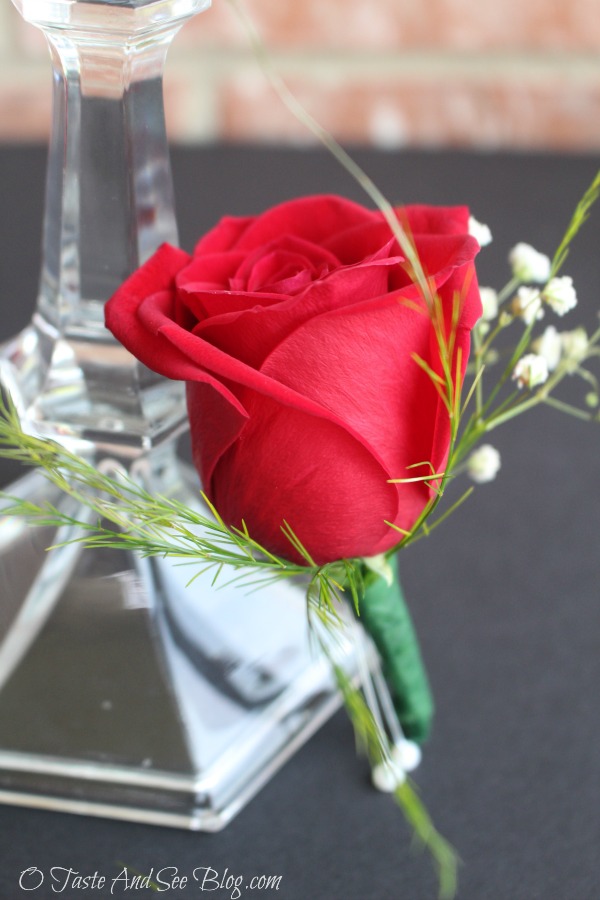
As a special offer to my readers, Fifty Flowers is offering a 10% discount on all orders through July 1.
Use discount code OTASTE10 at checkout!
This post is linked up at Over the Moon and Create Link Inspire.

2 Comments
thehomesteadinghippy
July 6, 2016 at 7:40 AM
How pretty this turned out! Thanks for linking up with Let’s Get Real.
marilyn1998
July 4, 2016 at 4:16 PM
Thank you so much for linking at #overthemoon! I look forward to seeing what you share every week. Please come back for #WonderfulWednesday or #ThursdayFavoriteThings. Don’t forget to comment your link #’s so I can be sure to visit and you get a chance to be featured! Pinned and shared.
Comments are closed.