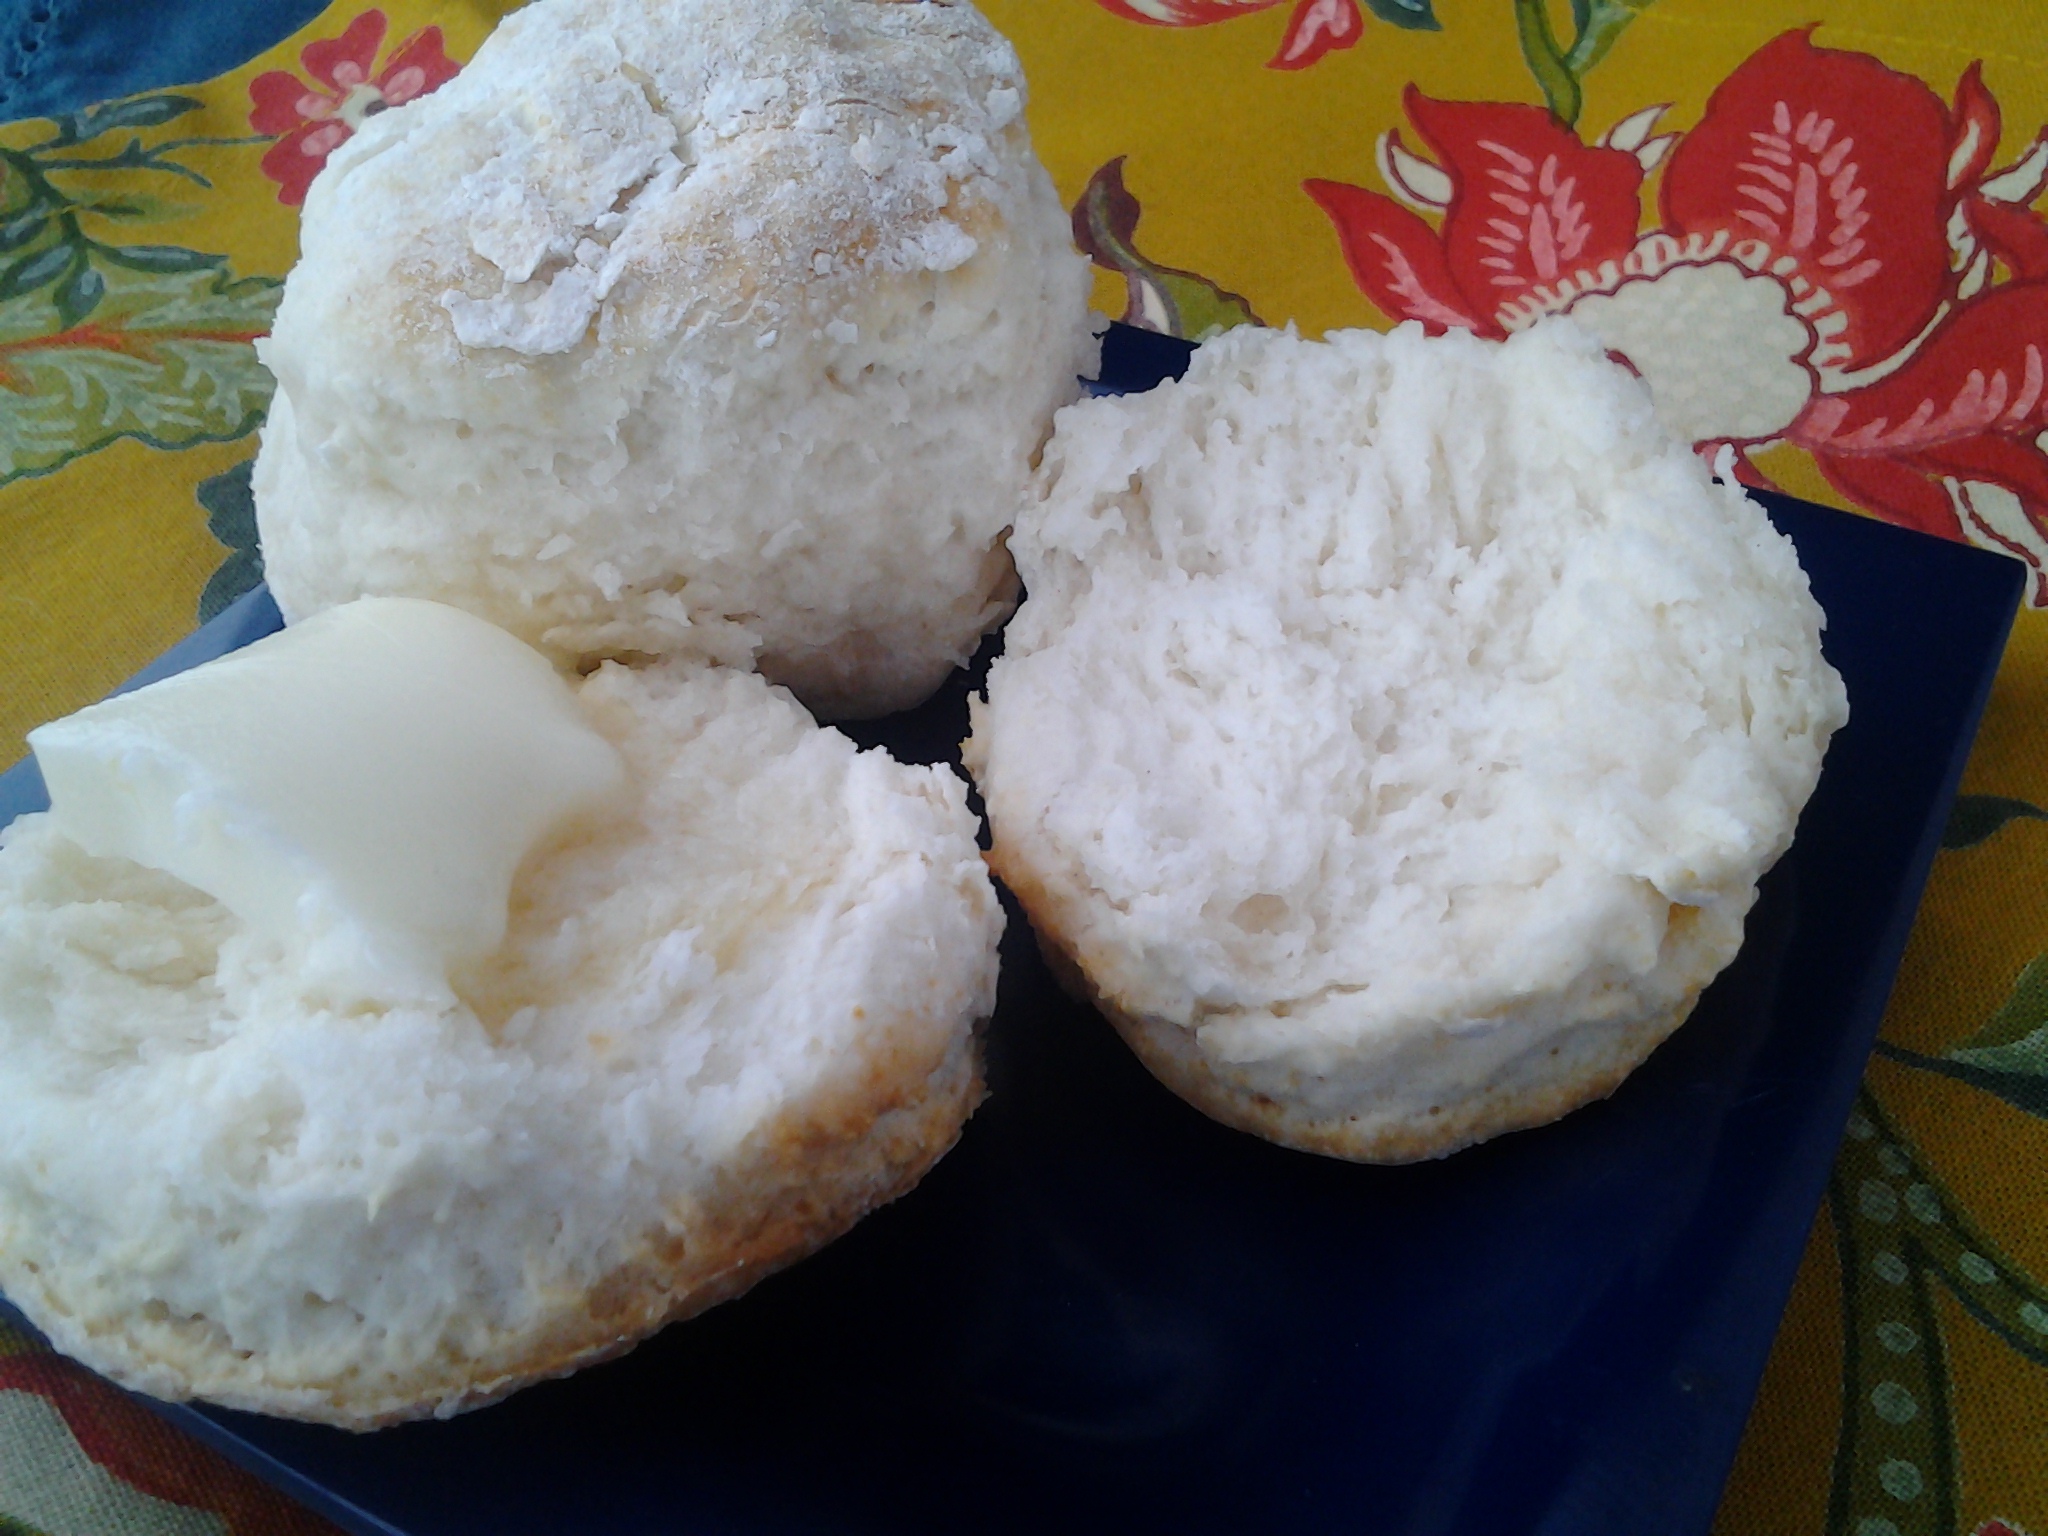
Homemade Buttermilk Biscuits
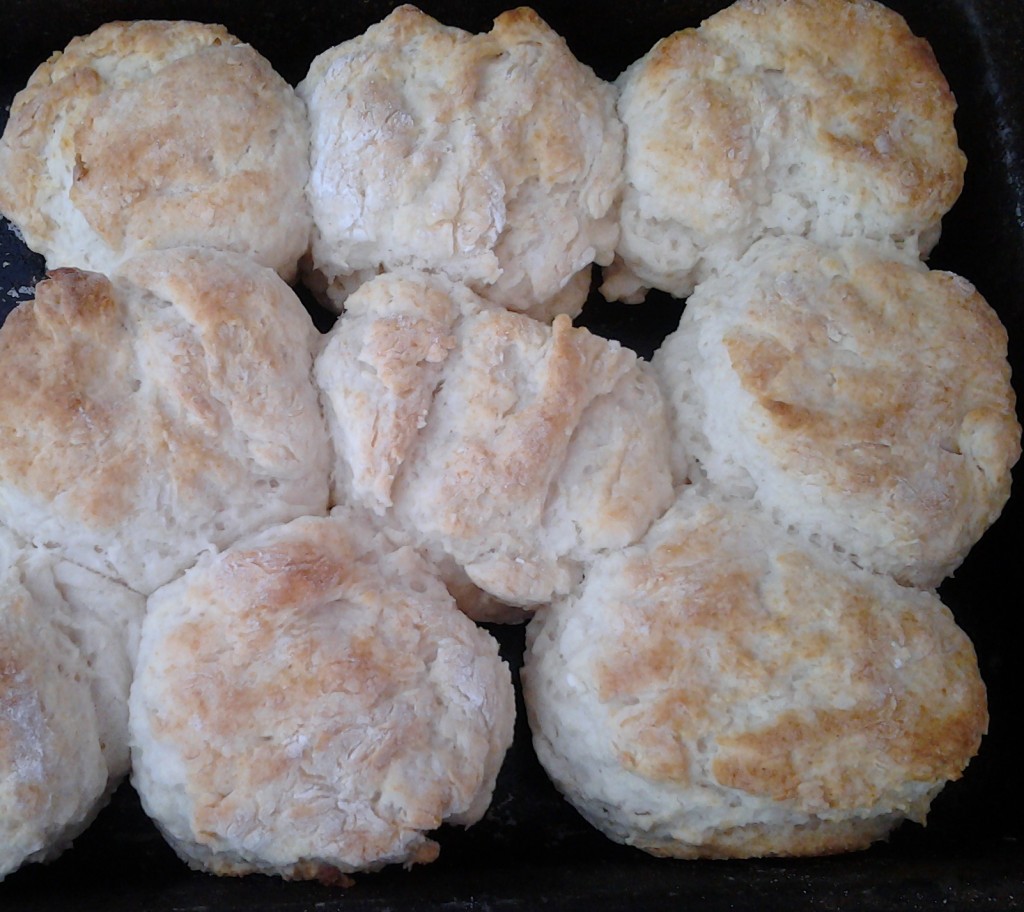
This week’s first “tried and true” Southern favorite is….Homemade Buttermilk Biscuits!
Learning to make biscuits was one of my cooking goals. I will be right up front….IT TAKES PRACTICE! I think everyone who makes or has attempted to make biscuits has had the “hockey puck” experience. You know the one…the biscuits would have a better chance at being a hockey puck than a delicious base for gravy or jelly.
My Biscuit Journey:
My grandmother taught me how to cook. I spent my preschool days following her around the kitchen. When I started school, I spent whole summers with my grandparents. My grandmother canned and made many things from scratch, but believe it or not, she always made canned biscuits! One summer I asked her if she knew how to make them homemade. Of course, she did, so my next question was, “Can you teach me?” Probably because grandmas always say, “Yes,” she agreed.
That began the biscuit making practice. I was so excited to perfect my skills, we had biscuits for breakfast, dinner and supper, until we ran out of shortening. They lived a good twenty miles from the grocery store so I had to wait until our next planned trip. My poor grandfather ate so many of my biscuits that summer. Although there were quite a few “hockey pucks” he always had something good to say about them. Grandparents are great!
I didn’t get very good at it that summer and when I went home and back to school it fell by the wayside for a while. Every now and then I would give it a shot but with little success. This continued for several years.
After college, my best friend and I got an apartment together. Now, SHE could make some biscuits! We learned many things from each other. I taught her how to drive and she helped me with my biscuits. She became a better driver than I did biscuit maker, after all, I lived with her and she was better at it so why not just let her make them?
Then I met my husband. His mom makes biscuits…GREAT biscuits! He would NEVER say anything to compare me to his mother or her cooking (she taught him better) but I wanted to get really good at it, so with her help, I have finally mastered the art of biscuit making.
Here’s the Recipe:
- 2 cups self-rising flour (I HIGHLY recommend White Lily – it makes a difference)
- 1/4 cup shortening
- about 1 cup buttermilk or 3/4 cup regular milk
- *you can make your own buttermilk (notes at bottom) or use regular milk
Preheat oven to 450 degrees
Spray baking pan with non stick spray
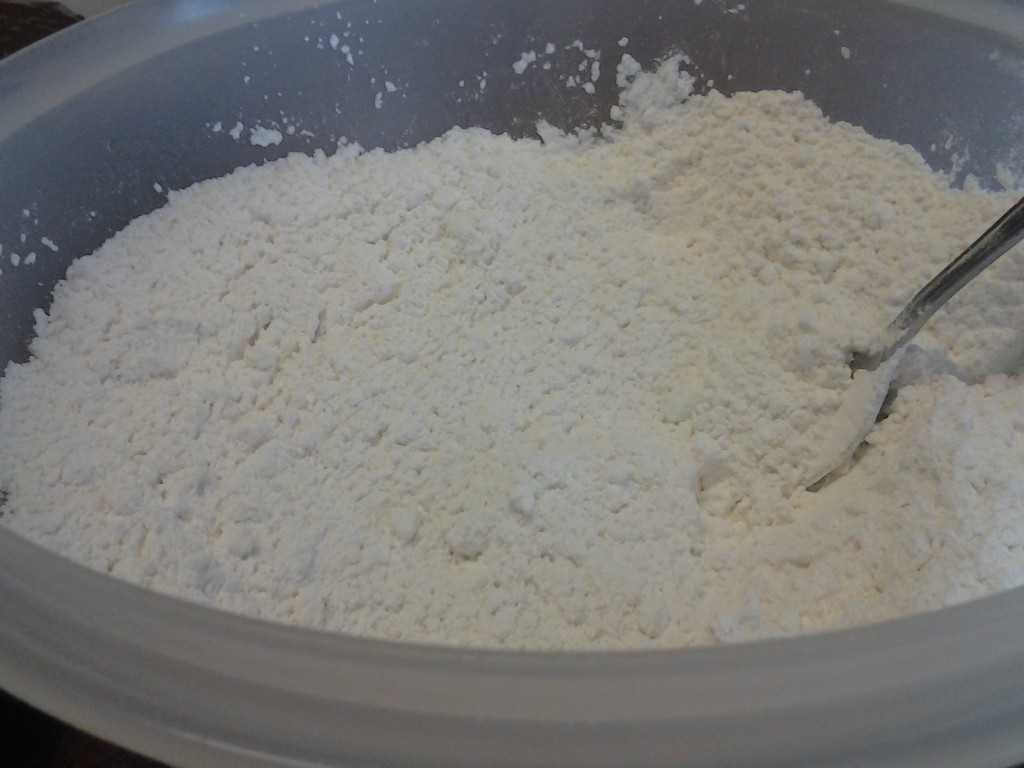
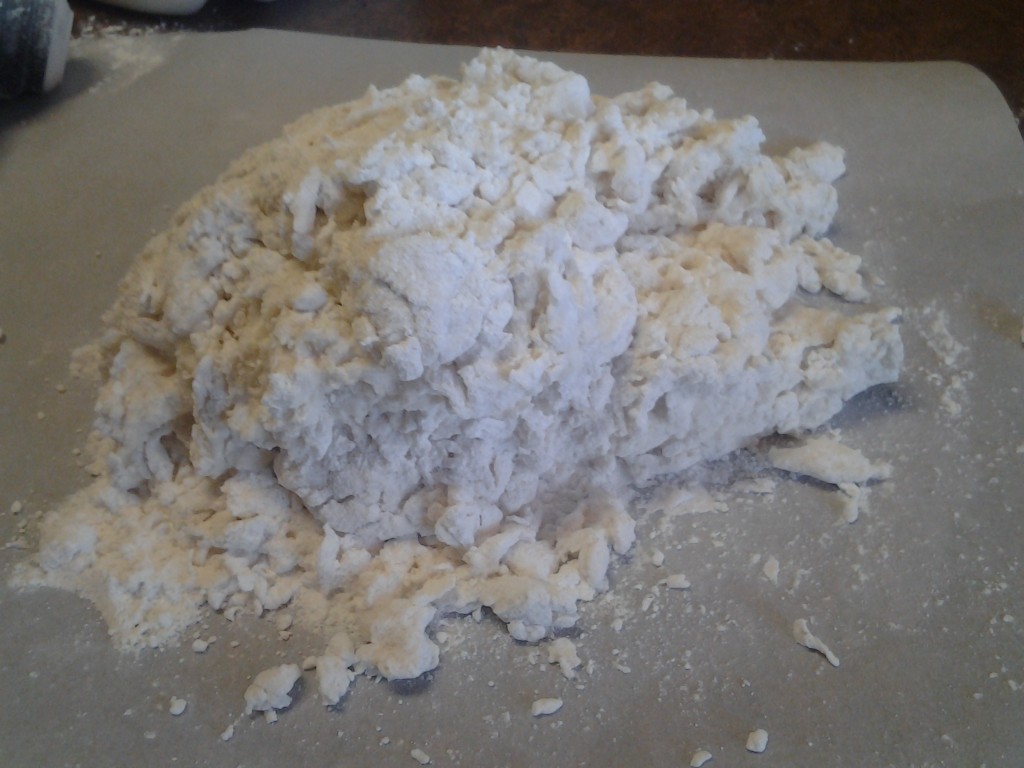
Start by adding shortening to flour in a large bowl. Cut in shortening with a fork or pastry blender until shortening is about the size of small peas.
Add milk and stir just till soft dough forms.
DO NOT over mix….that gets you hockey pucks!
If dough is too “sticky” add a little more flour, if too thick add a little more milk
Turn onto a well floured surface
Knead a few times, just until a soft ball forms
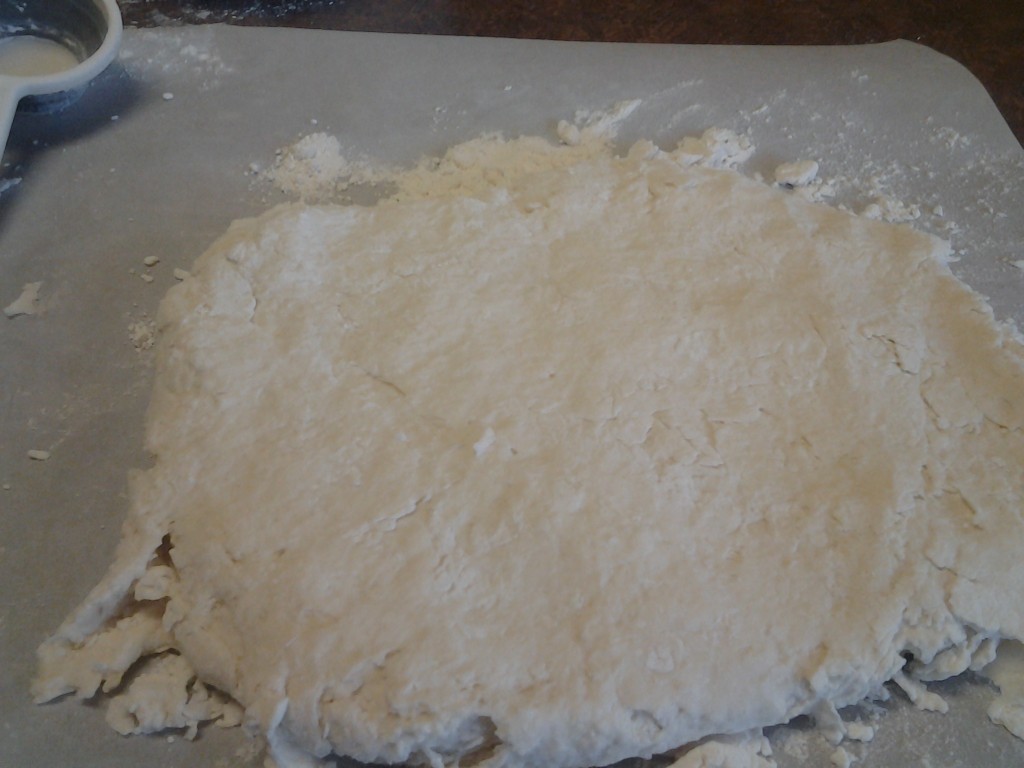
Flatten with palms or rolling-pin – about 1/2 inch thick
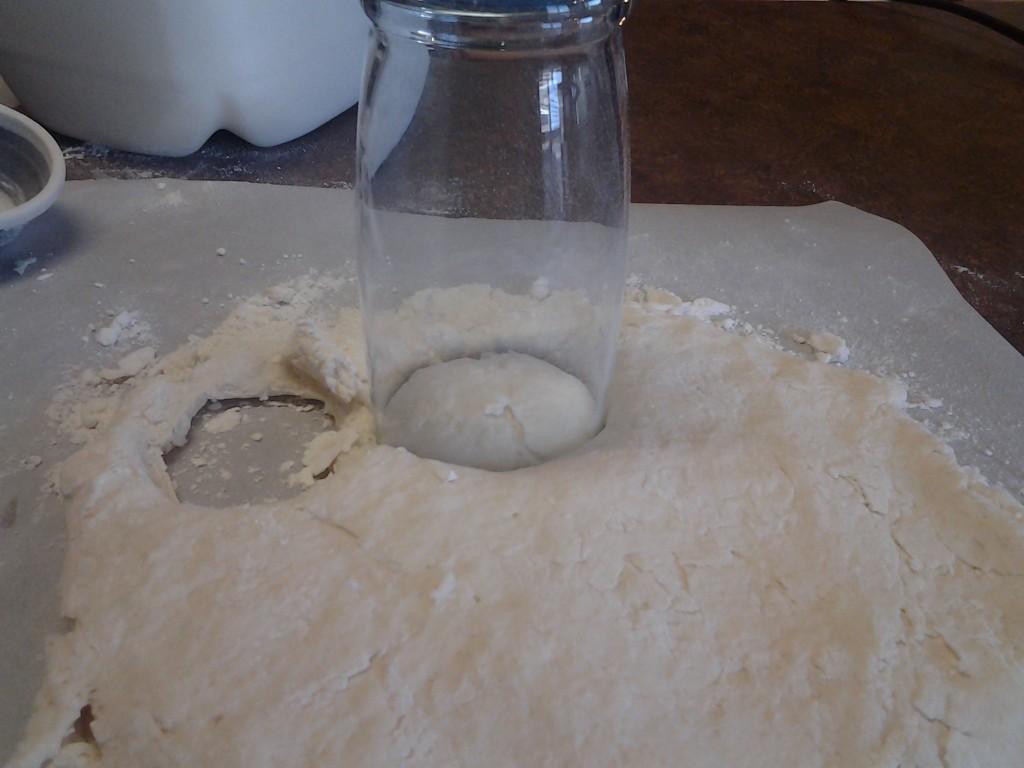
Using a biscuit cutter (or glass) dipped in flour, cut dough into rounds.
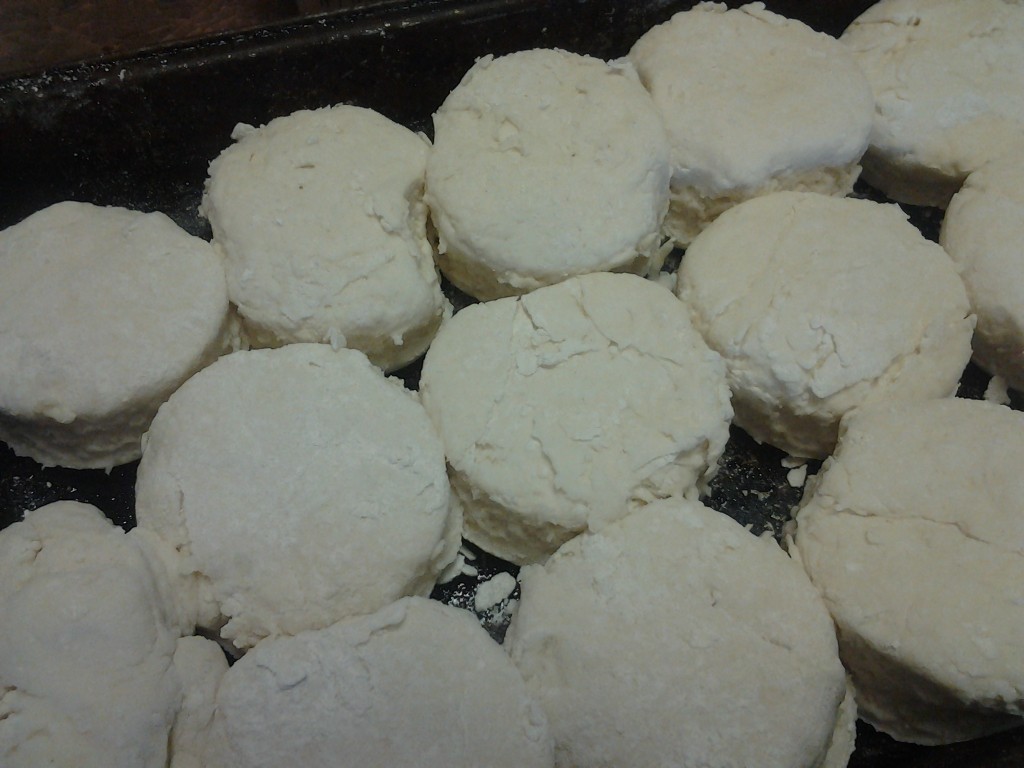
Place in prepared pan – touching
Re-knead dough and repeat until all dough is used.
Bake on 450 degrees about 15 minutes or until golden brown.
*Wait until oven is at 450 before putting them in, they may not rise properly otherwise.
Remember Practice Makes Perfect!
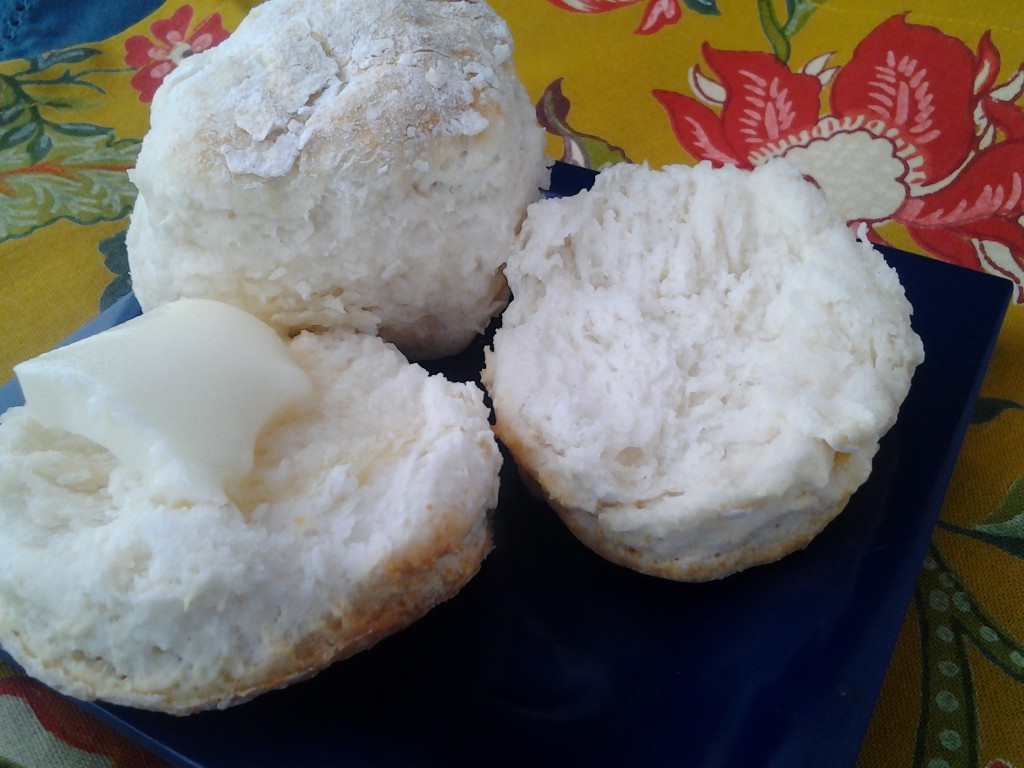

- 2 cups self-rising flour (I HIGHLY recommend White Lily - it makes a difference)
- 1/4 cup shortening
- about 1 cup buttermilk or 3/4 cup regular milk
- *you can make your own buttermilk (notes at bottom) or use regular milk
- Preheat oven to 450 degrees
- Spray baking pan with non stick spray
- In a large bowl add shortening to flour .
- Cut in shortening with a fork or pastry cutter until it is about the size of small peas
- Add milk and stir just till soft dough forms.
- If dough is too "sticky" add a little more flour, if too thick add a little more milk
- Turn onto a well floured surface
- Knead a few times, just until a soft ball forms
- Flatten with palms or rolling pin to about 1/2 inch thick
- Using a biscuit cutter (or glass) dipped in flour, cut dough into rounds
- Place in prepared pan - touching
- Re-knead dough and repeat until all dough is used.
- Bake on 450 degrees about 15 minutes or until golden brown.
- DO NOT over mix....that gets you hockey pucks!
- Wait until oven is at 450 before putting them in, they may not rise properly otherwise.
- To Make "Buttermilk" - Add 1 Tablespoon lemon juice or vinegar to 1 cup milk and let stand 5 minutes. Use as buttermilk
- I always use White Lily flour. Good quality flour makes a difference.

2 Comments
Lisa – A Merry Mom
May 16, 2014 at 7:37 AM
Thanks for the tutorial. I see a few things that I’ve been doing wrong! Pinned so hopefully they’ll be perfect next time! 🙂
Crystal From Tidbits of Experience
September 3, 2013 at 10:37 PM
Thank you for linking up to my blog hop. This is definitely something I need to add to my list of things to keep to cook for my family because my husband loves this type of food. 🙂
Comments are closed.