
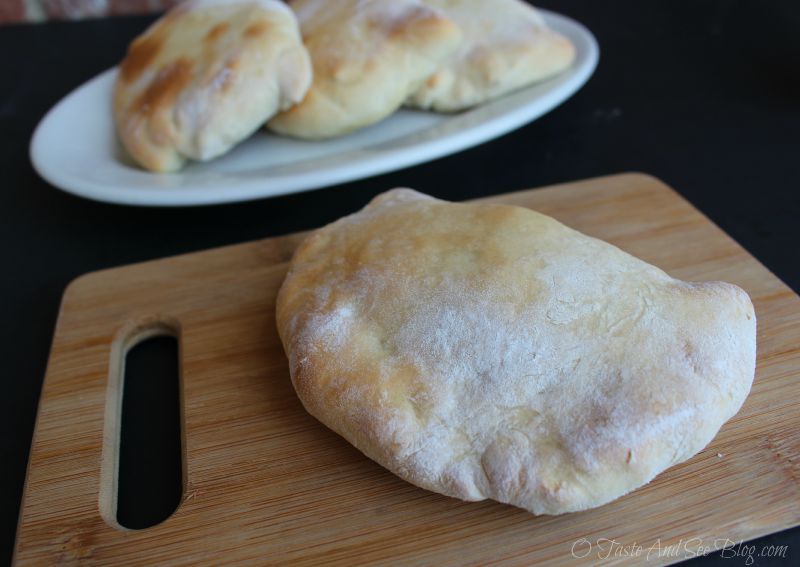
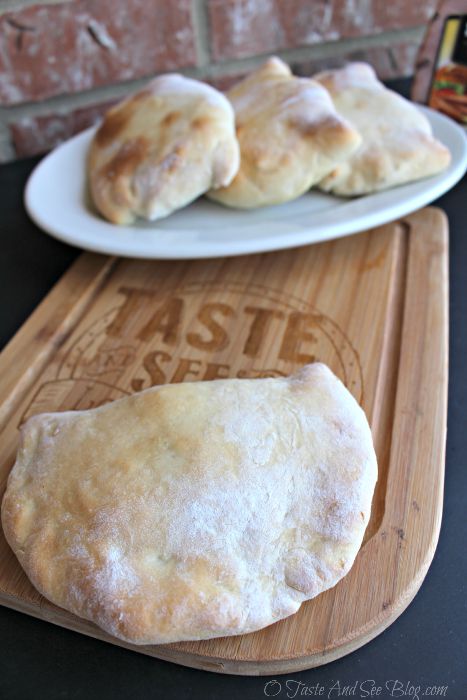
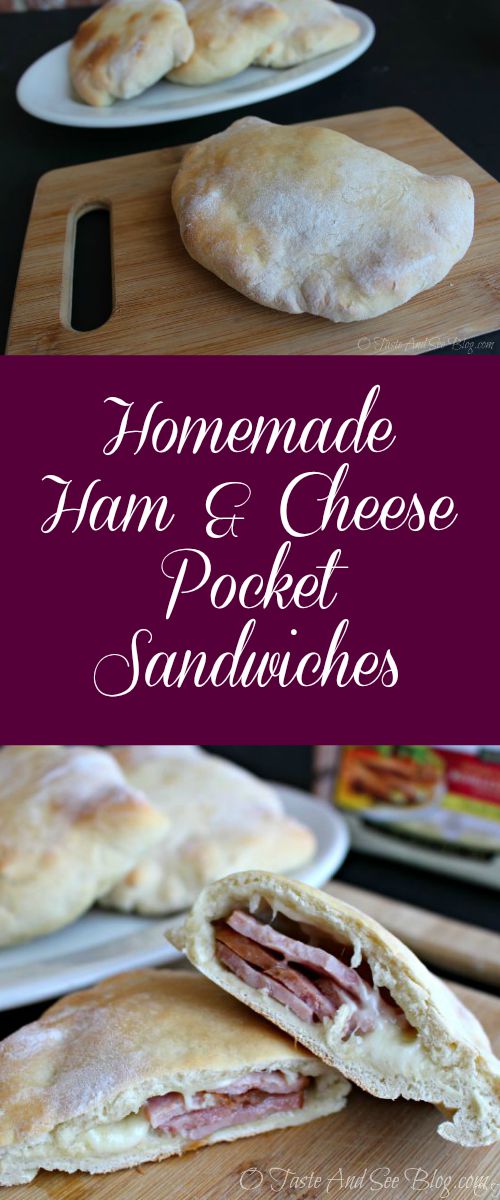
Homemade Ham and Cheese Pocket Sandwiches
Thanks Smithfiled Anytime Favorites for allowing me to be a Smithfield Hambassador and for sponsoring this delicious dish. All opinions are my own.
We all know convenience foods are just that….convenient. But, they can also be a little pricey and often contain extra fat and calories. Do I buy them anyway? Occasionally, but not nearly as often as my son would like. So, as with many restaurant and convenience foods, I often try to make them myself. It’s much less expensive and I can control what goes into them, plus homemade is ALWAYS better.
Most evenings I (or my daughters) cook dinner but for lunch everyone is usually on their own. My son is fourteen and if you’ve ever been around young men, they can eat! Where a salad or small sandwich would be enough for my daughter or me, he wants “real food”. By that he means something hot and hearty. He often asks me to buy the frozen pocket sandwiches, but I usually don’t.
I recently ran across a recipe for homemade Ham and Cheese Pocket Sandwiches. They sounded like a great lunch idea but they require making homemade dough. This usually takes a good deal of time and just didn’t seem practical for a busy weekday lunch. However, after looking over the recipe I realized there’s NO rising time, they only bake for about fifteen minutes and using my Smithfield Anytime Favorites Hickory Smoked Quarter Boneless Sliced Ham it just might be possible. I decided to give it a try.
Sure enough! They were ready in about thirty minutes! Now, I’m not the best bread maker around so I wasn’t sure how they’d taste. My parents stopped by for lunch that day so I was able to get several opinions. Everyone was in agreement….. DE-LICIOUS! My son asked several times if we could have them again and would it be something I could make again for lunch. He was thrilled when I told him not only could they be made again, but they freeze well and we could make a couple of batches, freeze them and have them whenever he wants.
I love being able to make my own “convenience” food!
Here’s the Recipe:
This recipe makes 4 sandwiches but can easily be doubled to make more (in the same amount of time)
- 11/2 cup all-purpose flour (divided)
- 1 Tbsp sugar
- 1/2 tsp salt
- 1 Tbsp yeast
- 1/2 cup warm water
- Smithfield Anytime Favorites Hickory Smoked Quarter Boneless Sliced Ham
- sliced or shredded cheese (your choice)

**Amount of cheese and ham slices needed depends on their size. I used 1-2 per pocket**
Preheat oven to 375 degrees
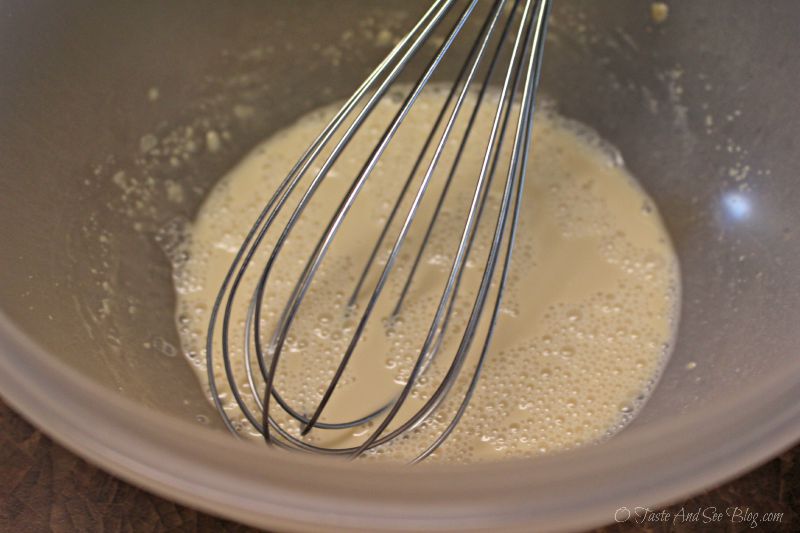
Start by adding yeast to warm water and stirring until dissolved
Then add salt and sugar, stir again
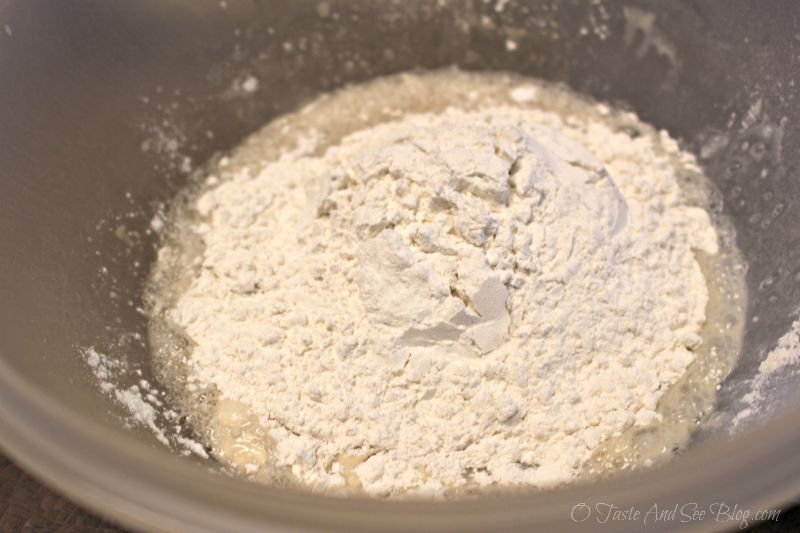
Add 1 cup flour to mixture
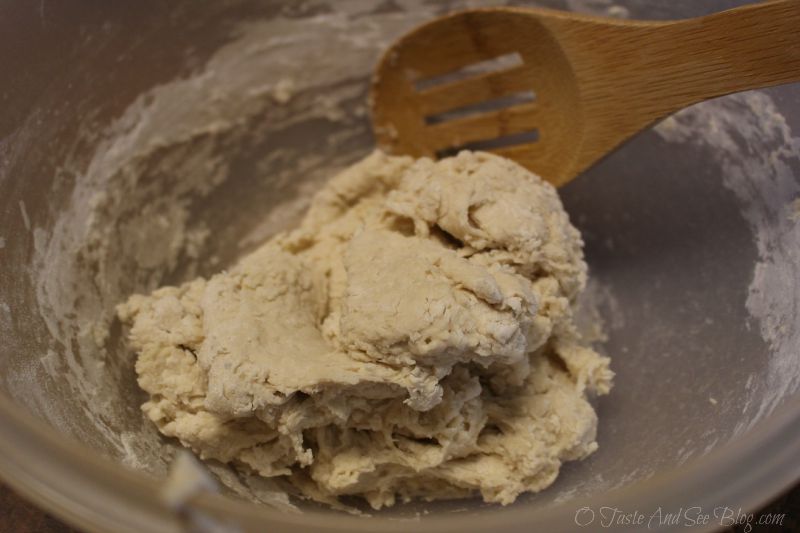
Stir until soft dough forms and pulls away from sides of bowl
Add more flour, a little at a time, if necessary
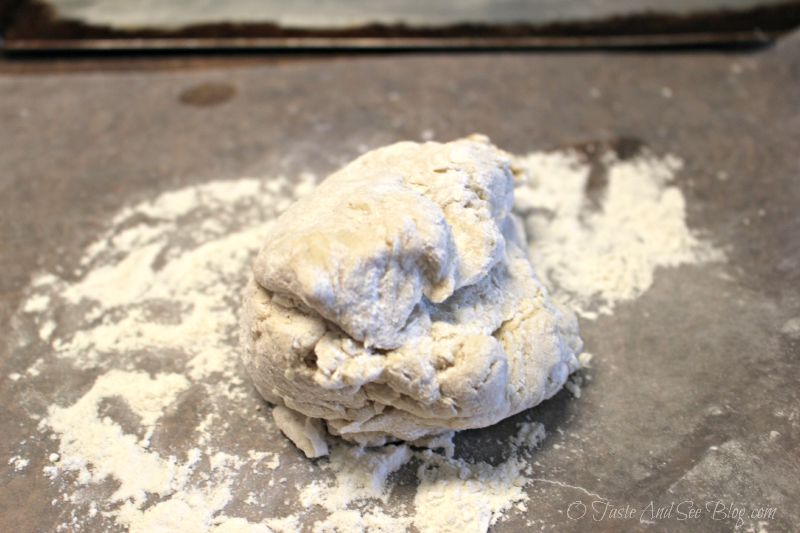
Dust work surface with part of the remaining 1/2 cup of flour
Turn dough onto floured surface and need about 3 minutes, adding more flour as needed
Dough should be smooth
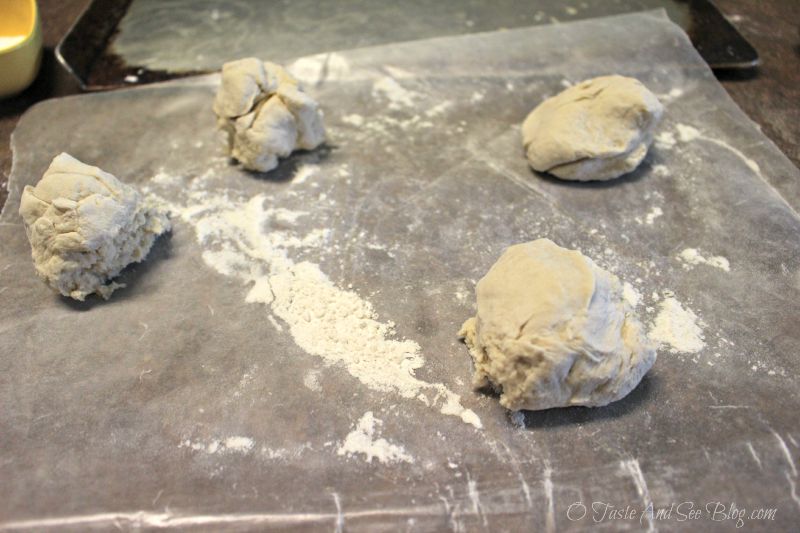
Divide dough into 4 smaller balls
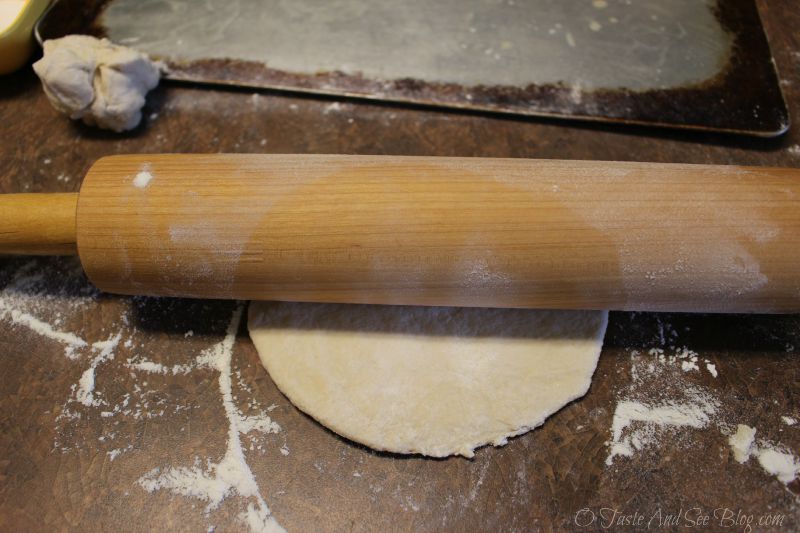
Roll each ball into a rectangle (it doesn’t have to be perfect)
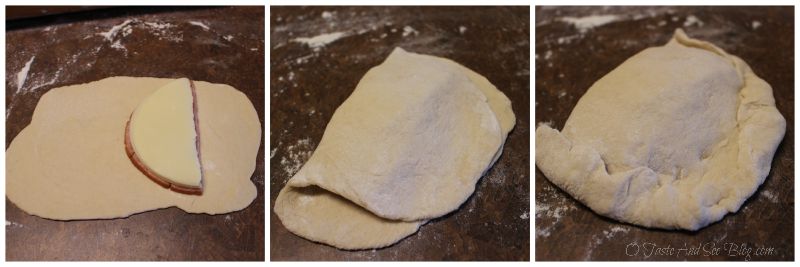
Place ham and cheese on one end of rectangle
Fold over and seal edges tightly
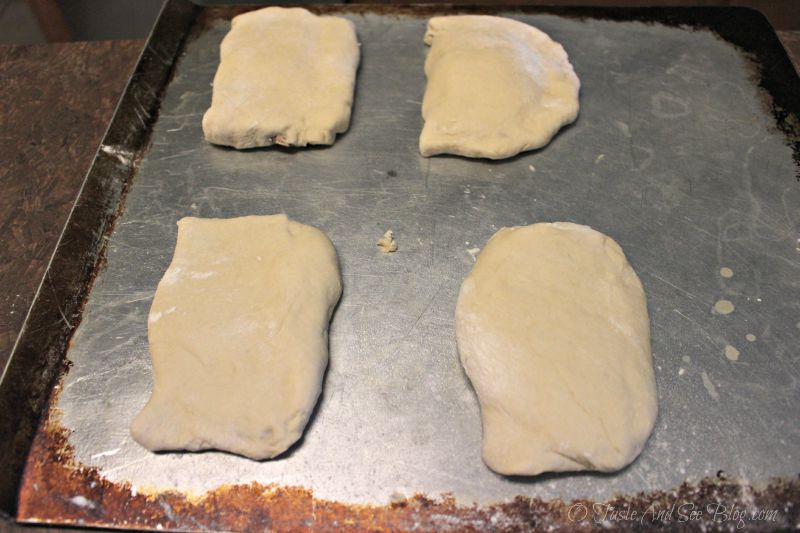
Place seam side down on baking sheet and bake for about 15-18 minutes or until golden brown
Serve immediately or allow to cool completely, wrap individually in plastic then foil (or freezer bag) and freeze for later
Reheating: Remove from freezer, wrap in paper towel and microwave until heated through at 30 second increments
Smithfield Anytime Favorites are versatile, convenient and available at grocery stores nationwide! For more meal inspirations visit Smithfield.com
This is a sponsored post written by me on behalf of Smithfield Anytime Favorites

- 11/2 cup all purpose flour (divided)
- 1 Tbsp sugar
- 1/2 tsp salt
- 1 Tbsp yeast
- 1/2 cup warm water
- thick cut slied ham
- sliced or shredded cheese (your favorite)
- Preheat oven to 375 degrees
- Start by adding yeast to warm water and stirring until dissolved
- Then add salt and sugar, stir again
- Add 1 cup flour to mixture
- Stir until soft dough forms and pulls away from sides of bowl
- Add more flour, a little at a time, if necessary
- Dust work surface with part of the reamaining 1/2 cup of flour
- Turn dough onto floured surface and need about 3 minutes, adding more flour as needed
- Dough should be smooth
- Divide dough into 4 smaller balls
- Roll each ball into a rectangle (it doesn’t have to be perfect)
- Place ham and cheese on one end of rectangle
- Fold over and seal edges tightly
- Place seam side down on baking sheet and bake for about 15-18 minutes or until golden brown
- Serve immediately or allow to cool completely, wrap individually in plastic then foil (or freezer bag) and freeze for later
- Reheating: Remove from freezer, wrap in paper towel and microwave until heated through at 30 second increments
- Amount of cheese and ham slices needed depends on their size. I used 1-2 per pocket
2 Comments
Mommy’s Apron
August 17, 2015 at 8:45 AM
I am going to have fun with this recipe! Thank you! I think I can modify it so my son with allergies can eat it too! 🙂
Danita
August 29, 2015 at 10:10 AM
Let me know how it turns out RaShell….or better yet BLOG IT!
Comments are closed.