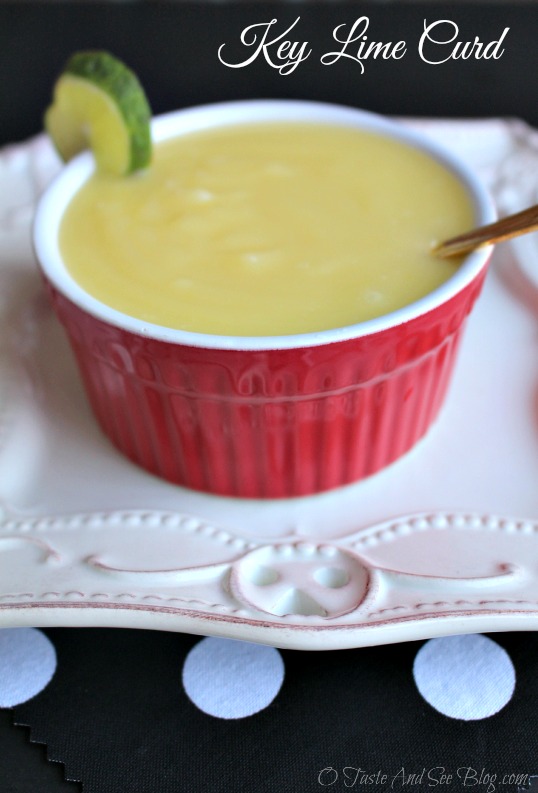
Key Lime Curd
A couple of weeks ago, I ran across a bag of key limes at the grocery store. They weren’t very expensive and my husband loves Key Lime Pie so I figured it was a win-win.
Well, I have done several things with those little beauties, but if we’re going to have any Key Lime Pie I’m going to need to make another trip to the store. I didn’t have the other things I needed for the pie and now I’m out of limes.
When I realized Key Lime Pie wasn’t going to happen, I decided to see what else I could make. That’s when I ran across a recipe for lemon curd. I figured Key Limes would work just as well, and they did.
For those who may not be familiar with “fruit curd” it’s a dessert spread and topping usually made with citrus fruit, such as lemon, lime, orange or tangerine. Other flavor variations include passion fruit, mango, and berries such as raspberries, cranberries or blackberries. (Wikipedia)
The most popular variety seems to be lemon and it’s most often eaten on scones, with a little clotted cream…all VERY British (said in my best British accent), and delicious!
I love it, however, it’s not always easy to find. We have one specialty store my husband likes to frequent that sometimes has it. Every now and again he’ll bring some home to me, although it’s been a while.
This Key Lime Curd recipe is very easy and only uses four ingredients. Cooking doesn’t take very long but it does need to cool completely, which may take several hours or overnight. Squeezing the juice out of those itty-bitty limes was much easier than I thought. I needed a half cup and wondered if it might take all of them, but each one has a surprising amount of juice.
Here’s the Recipe:
- Enough Key Limes for 1/2 cup juice – I used 8
- 3/4 cup sugar
- 2 large eggs
- 1/2 cup unsalted butter- cut into 4 pieces
Start by choosing a glass bowl that will fit on top of a pot to form a double boiler
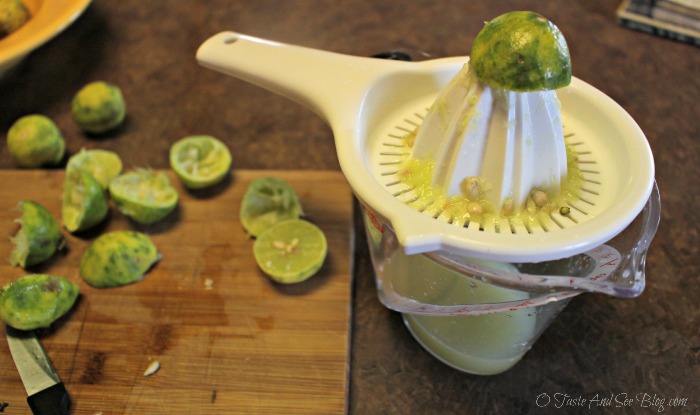
Fill the pot about 1/3 with water and bring to simmer while you juice the limes
I juiced by hand with an old-fashioned juicer/strainer. If you use some other type or just squeeze by hand the juice may need to be strained before next step
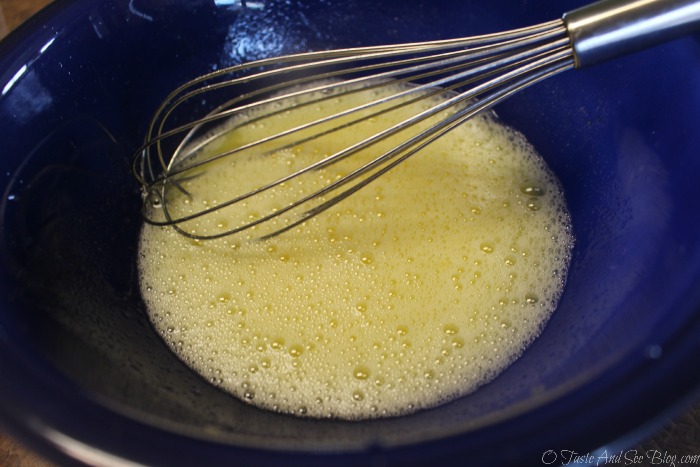
In the glass bowl, whisk the lime juice, sugar and eggs
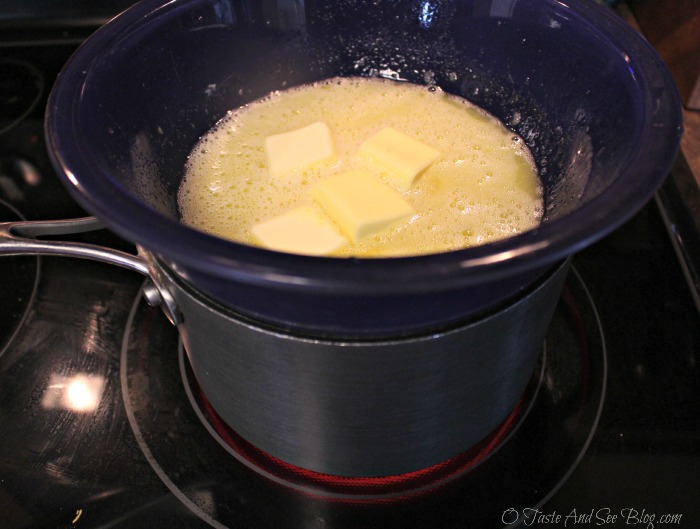
Add butter to juice mixture and place bowl over simmering water
Cook, whisking almost constantly until thickened
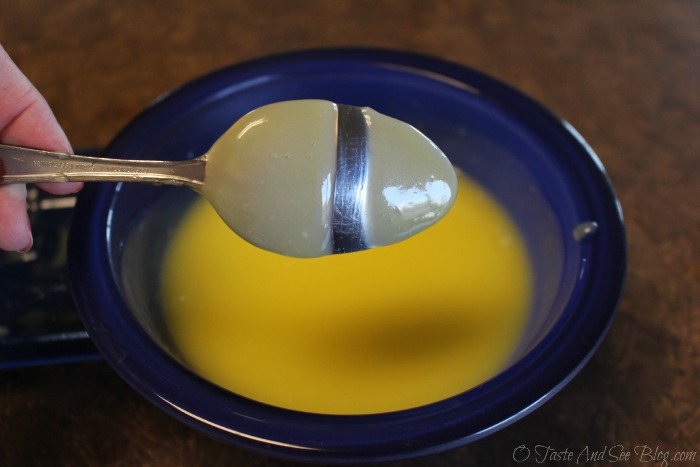
Curd should be thick enough to coat the back of a spoon and leave and “empty trail”
Remove bowl from pan and cool slightly
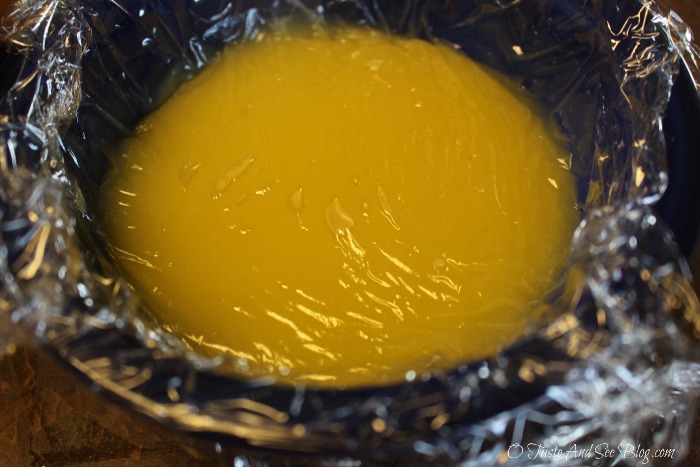
Place plastic wrap over bowl, touching curd and place in the refrigerator to cool completely
*The plastic wrap prevents a skim from forming on top as the curd cools*
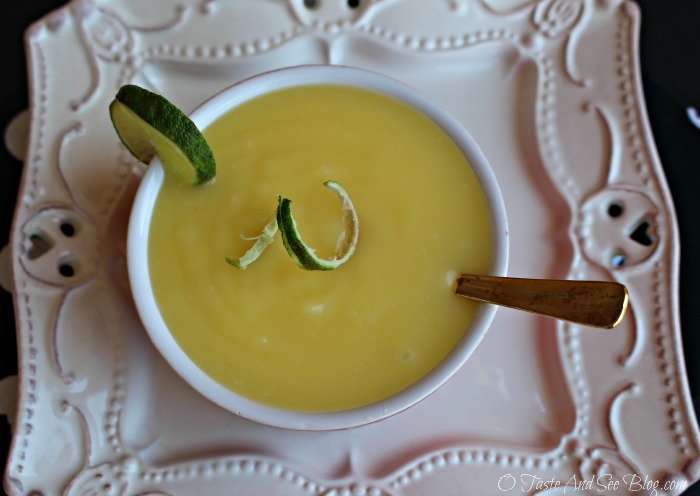
Once cooled, store in an air-tight container in the refrigerator for up to a week.
Now, what to do with this luscious Key Lime Curd……

- Enough Key Limes for 1/2 cup juice – I used 8
- 3/4 cup sugar
- 2 large eggs
- 1/2 cup unsalted butter- cut into 4 pieces
- Start by choosing a glass bowl that will fit on top of a pot to form a double boiler
- Fill the pot about 1/3 with water and bring to simmer while you juice the limes
- I juiced by hand with an old fashioned juicer/strainer. If you use some other type or just squeeze by hand the juice may need to be strained before next step
- In the glass bowl, whisk the lime juice, sugar and eggs
- Add butter to juice mixture and place bowl over simmering water
- Cook, whisking almost constantly until thickened
- Curd should be thick enough to coat the back of a spoon and leave and “empty trail”
- Remove bowl from pan and cool slightly
- Place plastic wrap over bowl, touching curd and place in the refrigerator to cool completely
- The plastic wrap prevents a skim from forming on top as the curd cools