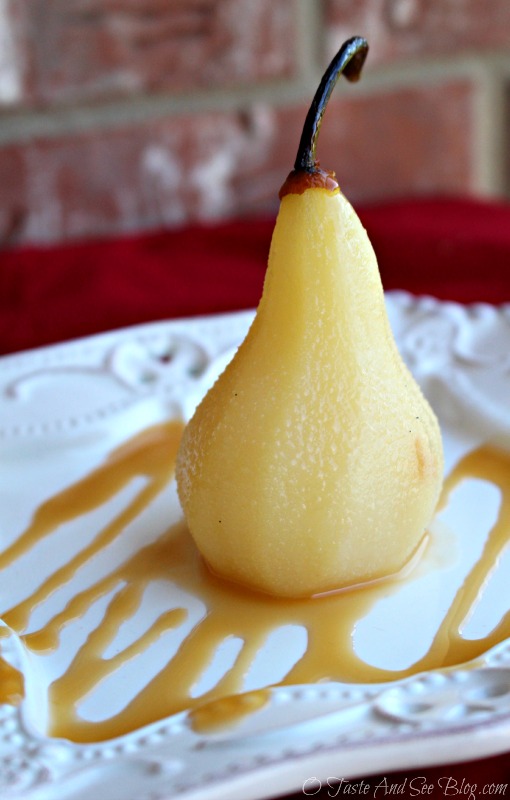
Cinnamon Vanilla Poached Pears
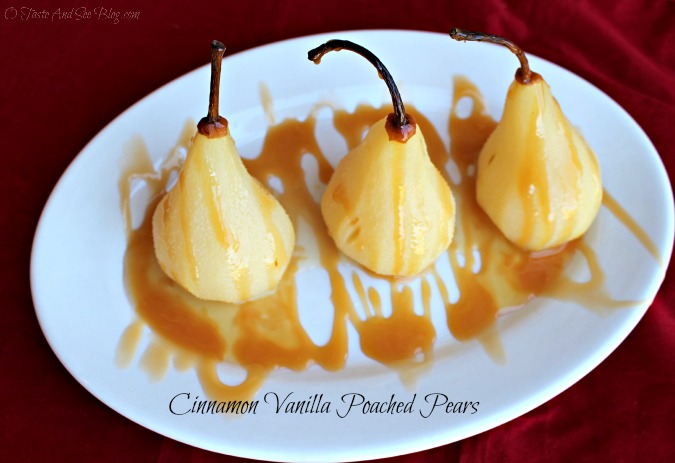
I’m really excited about sharing this Cinnamon Vanilla Poached Pears recipe. Poached Pears may be my new favorite, go-to, fancy-spancy dessert or side dish! I love great tasting food, but beautiful food that tastes great is my absolute favorite!
When I first mentioned “poached pears” to my friends and family I got a lot of, “what’s that?” I think many people have heard of poached eggs but maybe not poached pears. Poaching simply means to cook by simmering in a small amount of liquid.
First, let me say it’s not NEARLY as difficult as it may sound. In fact, it’s super easy! The end result is amazingly beautiful and makes for the quickest, easiest, fancy dessert I know. Poached Pears can be made the day before and kept in the refrigerator until ready to serve.
Fresh pear season is underway right now so this is the perfect time to try them. Poached Pears are really versatile, any of the ten USA Pear varieties can be used. Although I made them as a dessert, they would be a wonderful side dish or addition to breakfast. I can totally see these at a ladies brunch with some quiche and croissants! Is anyone free next Saturday?
Here’s the Recipe:
5-7 firm USA Pears – slightly under-ripe with stems
1 bottle Sparkling Apple Cider
1 whole vanilla bean (or 1/2 tsp pure vanilla)
about 1 cup water
1/2 cup sugar
2 cinnamon sticks (or 1/2 tsp ground cinnamon)
Caramel ice cream topping
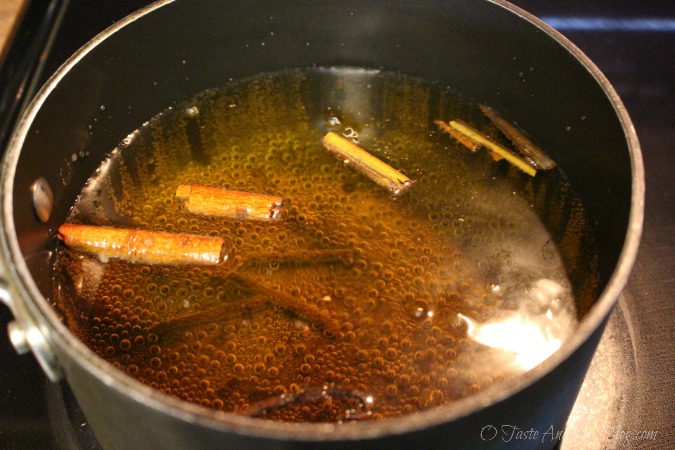
Add Sparkling Cider, water, sugar, cinnamon and vanilla to a pan just big enough to hold all your pears. Give it a stir to help dissolve the sugar.
Traditional recipes call for much more sugar, but it’s not needed in this recipe because of the sweetness of the cider
Place over medium high heat and bring to a boil
- I used a lid so all the “sparkle” wouldn’t escape from my liquid
Choose pears (with stems) that are slightly under-ripe, these are perfect for poaching
- Determining if pears are ripe: apply gentle pressure to the narrow “neck” of the pear with your thumb. If it yields to pressure, it’s ripe.
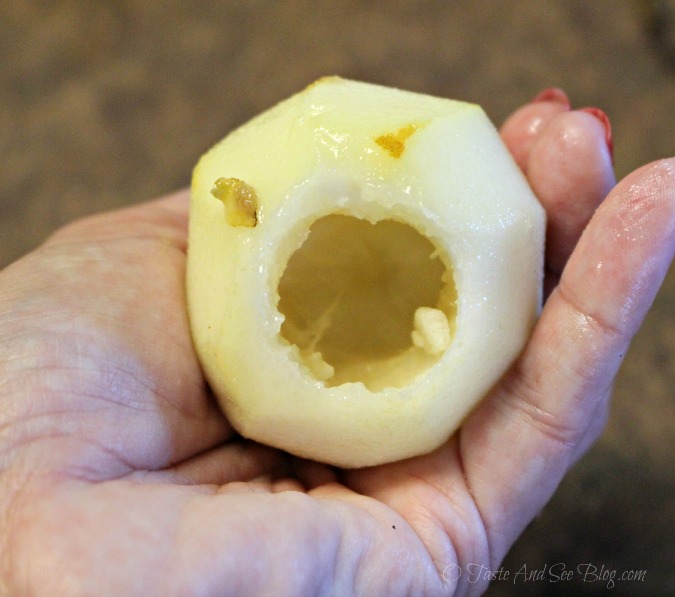
Leaving the stem on, peel and core each pear.
- From the bottom of the pear, using a melon-baller, gently scoop out the core. This also allows the poaching liquid to penetrate the inside of the pear
- Keep pears in a bowl of cold water after peeling. This prevents them from turning brown
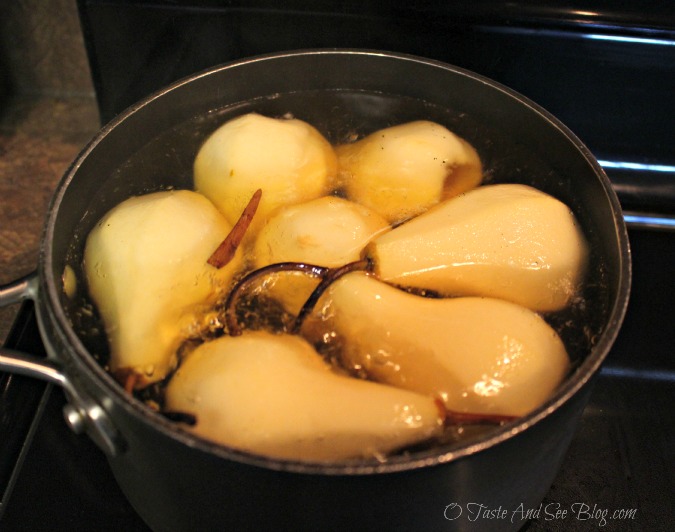
When liquid is boiling and pears are peeled, carefully place all pears in pan. Pears should be submerged in poaching liquid so adding a little more water may be necessary.
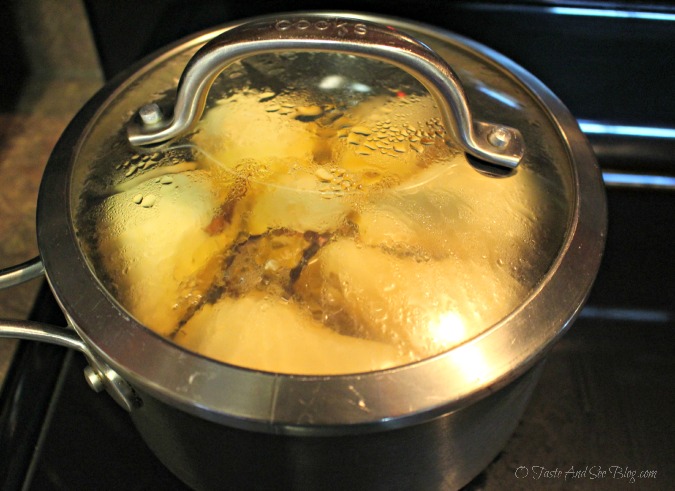
Cover, reduce heat to low and simmer
- Note of caution here. The first time I did this I thought my pears were “simmering” but in fact it was just the carbonation bubbles from the Sparkling Cider. Look closely to make sure it’s actually simmering and not just “fizzing”
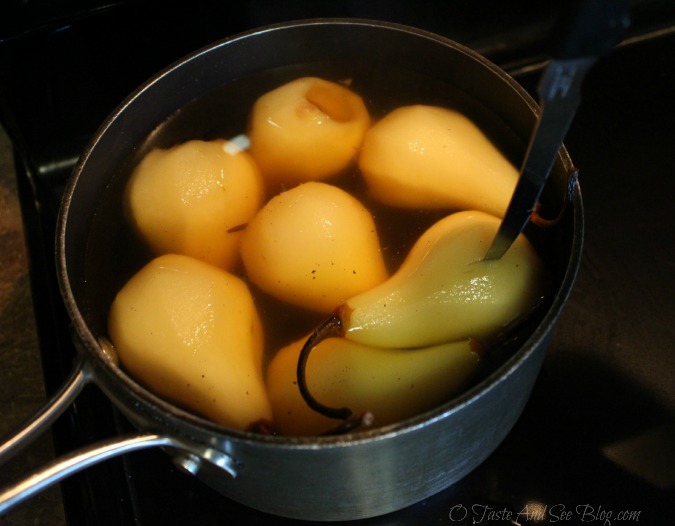
Cooking time depends on the type of pear you choose. I used Bosc, which are naturally more firm but if using Red Bartlett, for example, the cook time may be less.
Check pears after about 10 minutes
- Insert a thin blade knife into the fat part of pear. If it slides off easily, it’s done.
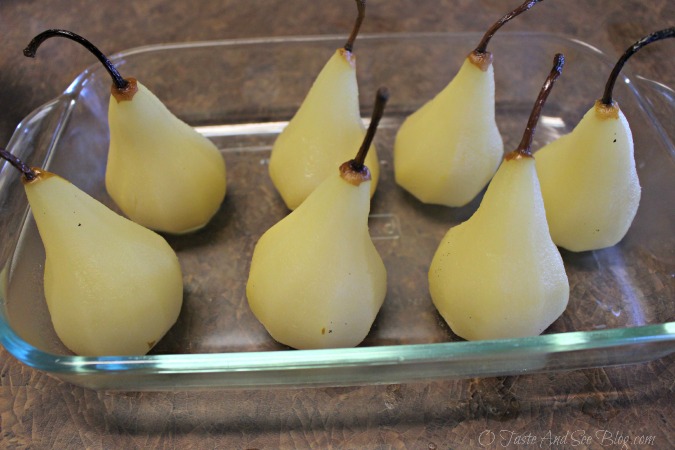
Carefully remove pears from hot liquid and store, sitting upright, in the refrigerator until ready to use.
- I put them in uncovered, then covered with plastic wrap once they were completely cool
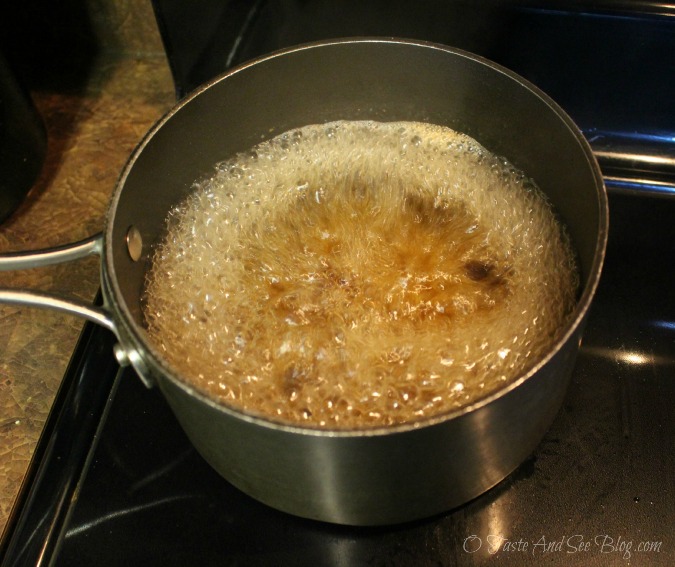
At this point you can add about 3/4- 1 cup more sugar to poaching liquid and boil until reduced and slightly thickened. This makes a a great flavorful simple syrup to serve over the pears or even with pancakes, or just reserve liquid the way it is and serve with pears.
- The first time I made these I did make the syrup. It lasts in the refrigerator for several week. However, the pictures of the pears shown here have the “unreduced” liquid with them.

When ready to serve…
Spoon a small amount of reserved liquid (or syrup) on to bottom of plate or glass, place one pear on top and drizzle with Caramel Ice Cream Topping
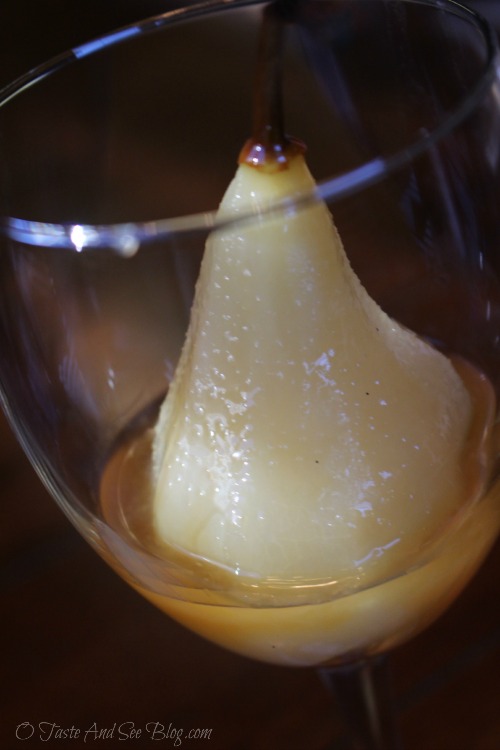
Pears fit perfectly in a medium or large goblet type glass which makes a beautiful presentation!
I was selected for this opportunity as a member of Clever Girls and the content and opinions expressed here are all my own.


- 5-7 firm USA Pears – slightly under-ripe with stems
- 1 bottle Sparkling Apple Cider
- 1 whole vanilla bean (or 1/2 tsp pure vanilla)
- about 1 cup water
- 1/2 cup sugar
- 2 cinnamon sticks (or 1/2 tsp ground cinnamon)
- Caramel ice cream topping
- Add Sparkling Cider, water, sugar, cinnamon and vanilla to a pan just big enough to hold all your pears. Give it a stir to help dissolve the sugar.
- Place over medium high heat and bring to a boil
- Leaving the stem on, peel and core each pear.
- From the bottom of the pear, using a melon-baller, gently scoop out the core. This also allows the poaching liquid to penetrate the inside of the pear
- When liquid is boiling and pears are peeled, carefully place all pears in pan. Pears should be submerged in poaching liquid so if you need to adding a little more water may be necessary.
- Cover, reduce heat to low and simmer
- Cooking time depends on the type of pear you choose. I used Bosc, which are naturally more firm but if using Red Bartlett, for example, the cook time may be less.
- Check pears after about 10 minutes
- Insert a thin blade knife into the fat part of pear. If it slides off easily, it’s done.
- Carefully remove pears from hot liquid and store, sitting upright, in the refrigerator until ready to use.
- When ready to serve…
- Spoon a small amount of reserved liquid (or syrup) on to bottom of plate or glass, place one pear on top and drizzle with Caramel Ice Cream Topping
- Choose pears (with stems) that are slightly under-ripe, these are perfect for poaching
- I used a lid so all the “sparkle” wouldn’t escape from my liquid
- Determining if pears are ripe: apply gentle pressure to the narrow “neck” of the pear with your thumb. If it yields to pressure, it’s ripe.
- Traditional recipes call for much more sugar, but it’s not needed in this recipe because of the sweetness of the cider
- Keep pears in a bowl of cold water after peeling. This prevents them from turning brown
- Note of caution about simmering: The first time I did this I thought my pears were “simmering” but in fact it was just the carbonation bubbles from the Sparkling Cider. Look closely to make sure it’s actually simmering and not just “fizzing”
- I put them in the refrigerator uncovered, then covered with plastic wrap once they were completely cool
- You can add about 3/4-1 cup more sugar to poaching liquid and boil until reduced and thickened. This makes a a great flavorful simple syrup to serve over the pears or even with pancakes, or just reserve liquid the way it is and serve with pears.

10 Comments
nmburk
November 9, 2014 at 3:21 PM
I’ve never made poached pears before. They are lovely and sound delicious! Thanks for the photo of the cored pears- I was wondering how to do that! 🙂
Britni
November 6, 2014 at 9:02 AM
Yum!! These look good!
Jess @ Flying on Jess Fuel
November 3, 2014 at 1:01 PM
Love that you poached these in sparkling cider… they sound fantastic!! And so pretty, too!!
censie
November 3, 2014 at 10:57 AM
These looks so pretty! Maybe too pretty to eat! Perfect for a fun holiday party
kimberlyjob
November 3, 2014 at 10:44 AM
This sounds delicious! I love poached pears. Your food photography is awesome too.
Linda
November 3, 2014 at 10:23 AM
Golly, this looks good. I’m pinning and sharing on Facebook and twitter. Oh, Google+, too. That’s how much I love pear desserts. Thanks again for the great instructions! Linda Crafts a la Mode
Danita
November 3, 2014 at 12:35 PM
Thanks Linda! The extra love is much appreciated on this post. Have a blessed week!
thenerdswife
November 3, 2014 at 9:49 AM
This looks so yummy! I’ve never had poached pears, but I’d love to try them!
bysarahhalstead
November 3, 2014 at 6:43 AM
That looks amazing. Yummy!!
gina
October 31, 2014 at 9:30 AM
Yum! This looks like something I could actually do.
Comments are closed.