DIY Freezer Lunch Hacks with GIVEAWAY!
This is a sponsored post for SheSpeaks/Rubbermaid®. All opinions are my own.
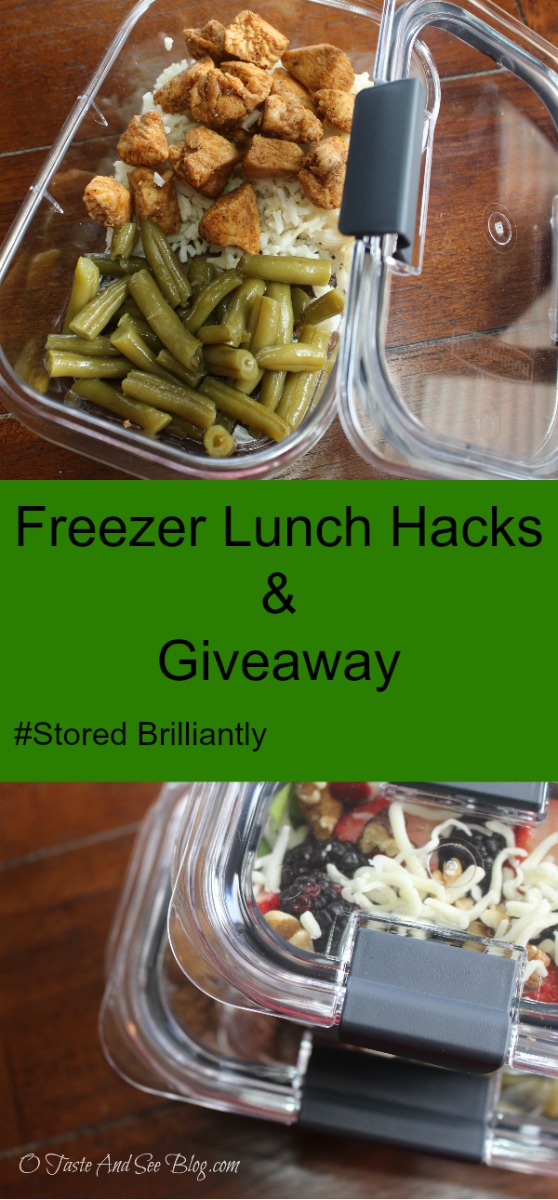
Today I’m sharing some DIY Freezer Lunch Hacks with GIVEAWAY! You’ll love the 10-piece Rubbermaid BRILLIANCE food storage containers!
Summer is here and we are ready for a little “down” time! Well, all of us except my daughter. In a few days she will be starting her third (and final) semester of cosmetology school. Yeah, for being almost finished! Boo, that she has to go to school all summer.
Her school days are long and her weeks get pretty hectic. So, anticipating the busyness of the next few months she is using her three-week break to try to get ahead. She had a BRILLIANT idea….make her own Homemade Frozen Lunches!
Because she prefers to save money and eat healthy she takes her lunch everyday. Occasionally, she will take a prepared frozen dinner we’ve purchased at the store but typically she spends a couple of hours every Sunday afternoon preparing and packing food she makes herself. Having these Frozen Lunches ready to “grab and go” will save time on the weekends and each day.
These are so convenient and super easy to make. Here’s a couple of tips…
1. Use leftovers when possible
We almost always have a spoonful of this or one small serving of that left from each dinner. Using these odds and ends helps use up our left overs as well as saves time and money.
2. Plan ahead when cooking and prepare extra
It really doesn’t take any more time to make (for example) 4 pieces of chicken than it does to make three. So, whatever meat I’m cooking I’ll pull out an extra piece and cook it with dinner. When my husband grills he does the same.

Combine that with the spoonful or two of leftover veggies and…. instant lunch! Pop it in the freezer and it’s ready to go when needed.
3. Good, airtight, containers that are freezer and microwave safe

This may be the most important thing. A good food storage container is the key to keeping your food fresh and tasty after freezing and reheating.
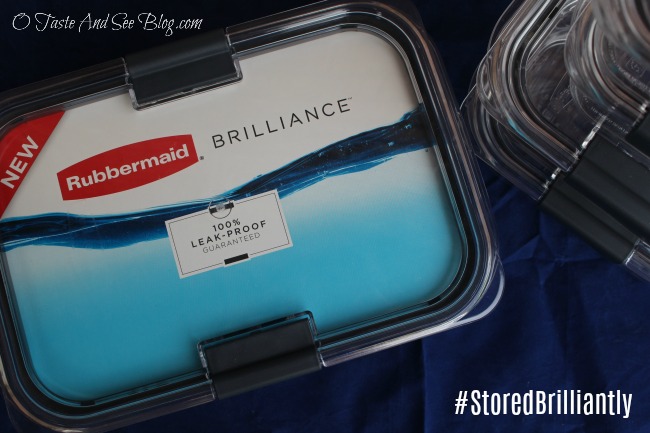
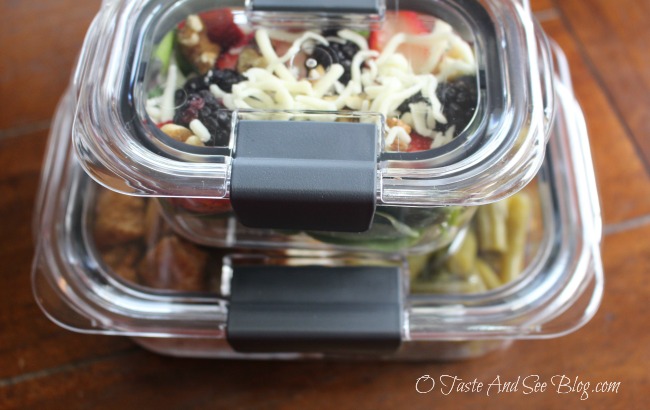
We used Rubbermaid BRILLIANCE storage containers.
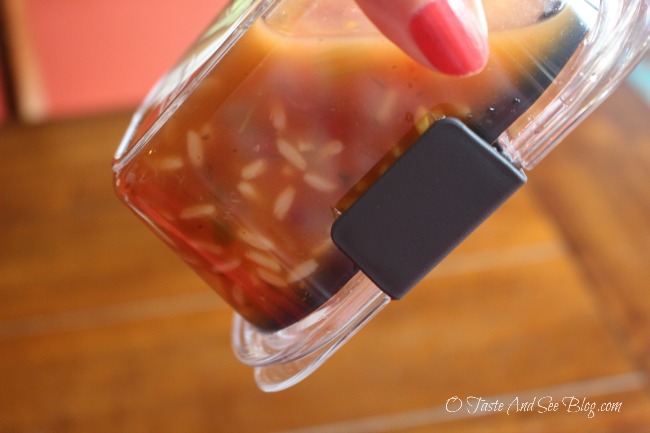
They are 100% leak-proof (GUARANTEED), freezer and microwave safe. The lids are air-tight but designed with innovative vents that allow microwaving with the lid on and latches open to help reduce splatter! Who has time for cleaning up a mess?!
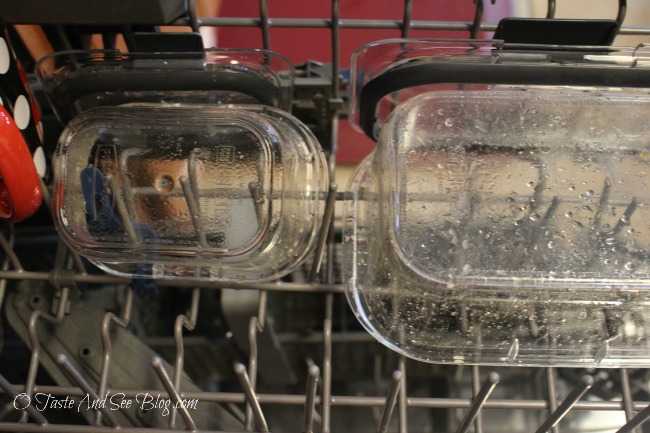
These Rubbermaid containers are also crafted with heat-resistant BPA free material AND go right in the dishwasher for easy cleanup….more time saving!
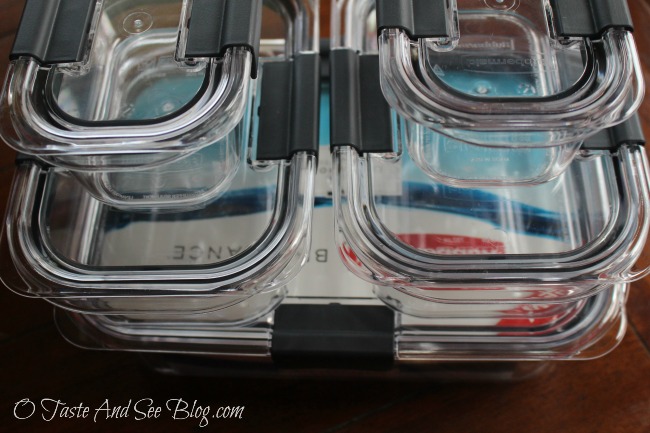
These food storage containers are made of stain resistant material which keeps them crystal clear, looking like new and odor free. This allows you to be able to easily identify their content….no “mystery” meals.
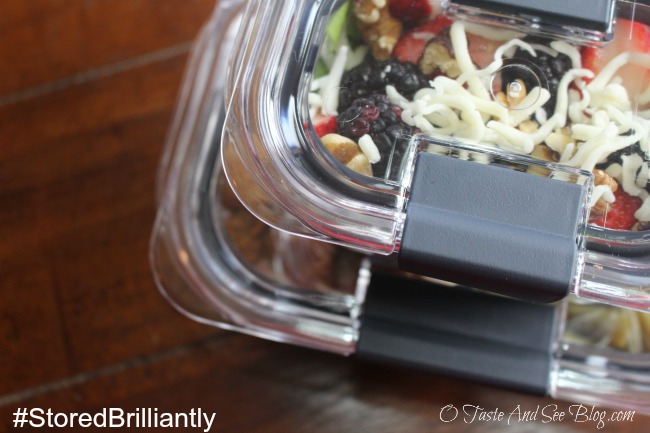
They are available in five sizes and stack perfectly…which means they’ll take up less room in the freezer or lunch box.
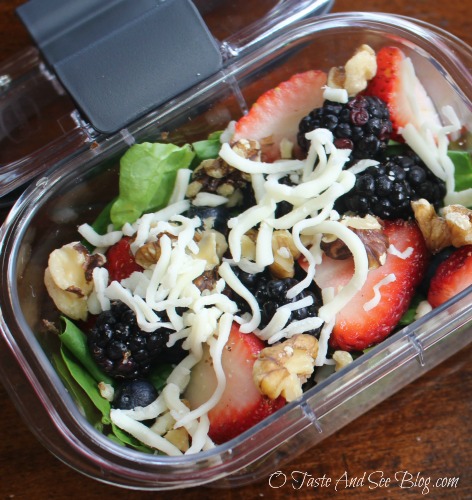
The small container holds just the right amount of soup or side salad
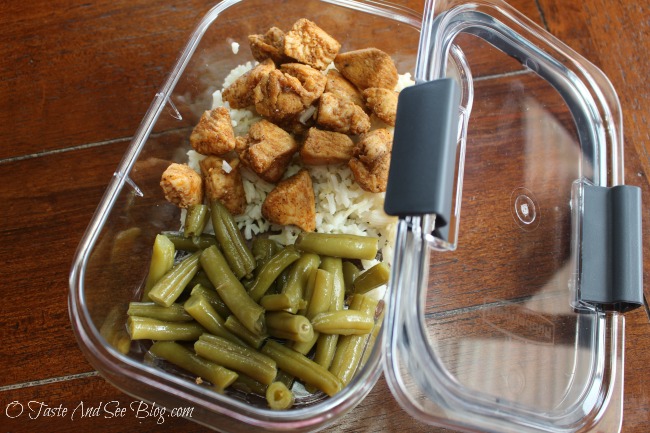
The 3.2 cup container is perfect for a frozen entre with sides!
I love these Rubbermaid containers and I think you will, too! Want a 10-piece set of your own?
Just enter the GIVEAWAY!!!
Giveaway open to U S residents only.
14 Comments
Chris@TTL
November 12, 2020 at 11:27 AM
Meal prep + freezer lunches = money saving for your food expenses 🙂 Good ideas here.
I think that one of the keys is definitely having quality containers with lids that’ll handle freezing and the microwave well without too much expansion or contraction. The temperature cycle seems to wreck a lot of them pretty quickly.
The rubbermaid brilliance containers mentioned are pretty good for this.
Love DIY tips like this to help avoid any mistakes you’d make experimenting on your own and to save some money!
Betsy Barnes
June 9, 2017 at 7:19 PM
My food storage tip, store dairy products on the top shelf of the fridge. The thermometer is there and it is the most constant temperature.
James Robert
June 7, 2017 at 9:23 AM
Make sure they are cleaned real good.
busyworkingmama
June 2, 2017 at 9:53 AM
Make lettuce and fresh herbs last longer in the crisper by wrapping them in a moist paper towel.
rochelle haynes
June 2, 2017 at 5:55 AM
My tip is to wash all your food carefully
Nancy Loring
June 1, 2017 at 7:25 PM
keep you food rotated as you use up food in containers.
Margot C
June 1, 2017 at 2:10 AM
When the season is in full swing (like right now) I buy tons of bell peppers. Some I oven roast and peel, others I just seed and dice – cut-em and bag ’em or put them in containers to freeze. It’s astonishing how many dishes are improved by adding a handful and I have every color.
jeepingeos
May 31, 2017 at 9:09 PM
One tip I have is to not refridgerate tomatoes. It diminishes the flavor.
Dagmar M
May 31, 2017 at 6:26 PM
I always wash all fruit and veggies before putting them away so that way they are ready to go!
heather
May 31, 2017 at 3:55 PM
My favorite storage tip is to cut up and store enough veggies for several meals during the week.
april aakre
May 31, 2017 at 1:04 PM
I rinse my fruits with lemon essential oil it helps them stay fresh longer and it makes strawberries taste amazing
Brenda Haines
May 31, 2017 at 11:04 AM
Use containers where you can tell what’s inside. No more cottage cheese containers for me lol.
tat2gurlzrock
May 31, 2017 at 9:44 AM
These are nice containers! I wrap celery, broccoli, and lettuce in aluminum foil to help it stay crisp.
Julie Wood
May 31, 2017 at 9:41 AM
Before storing berries, remove any spoiled or crushed fruits, and store unwashed in an airtight container.
Try not to put them into too many layers because berries are fragile. Only wash them when ready to eat.
Comments are closed.